Quick getting started guide
How to Browse, Edit, and Arrange Projects in the Gallery
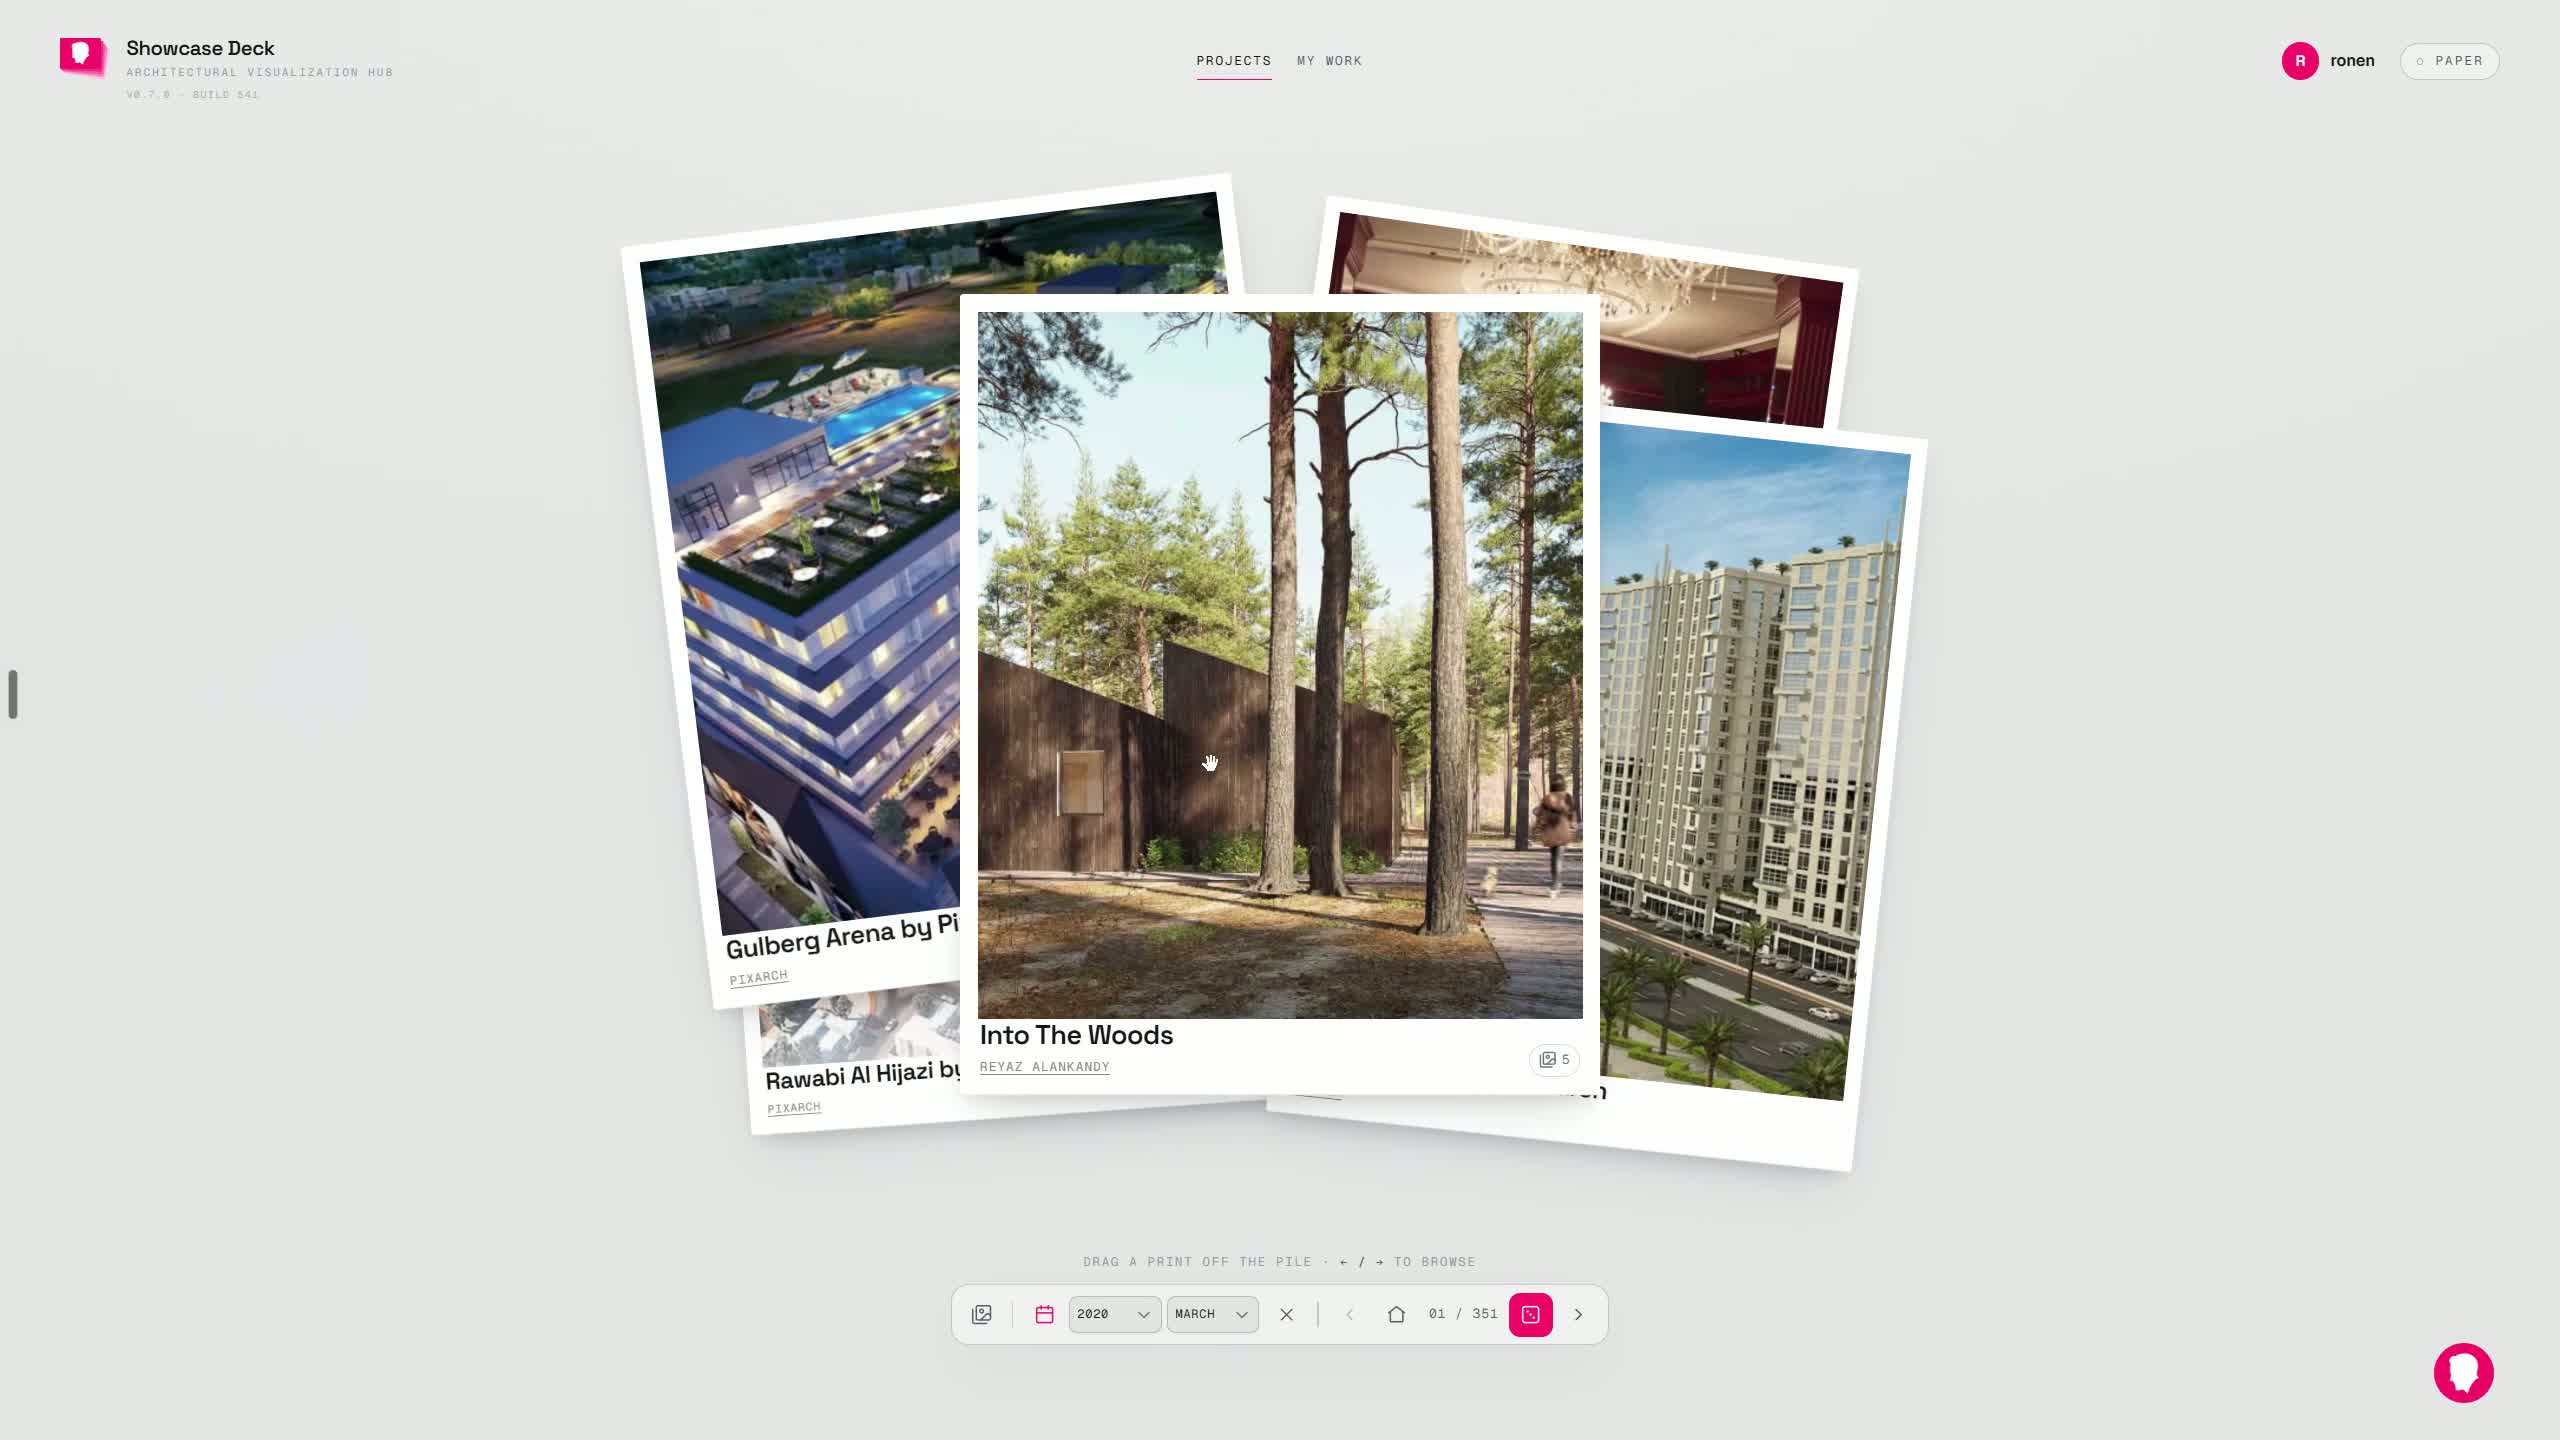
1. Choose how the card deck is displayed
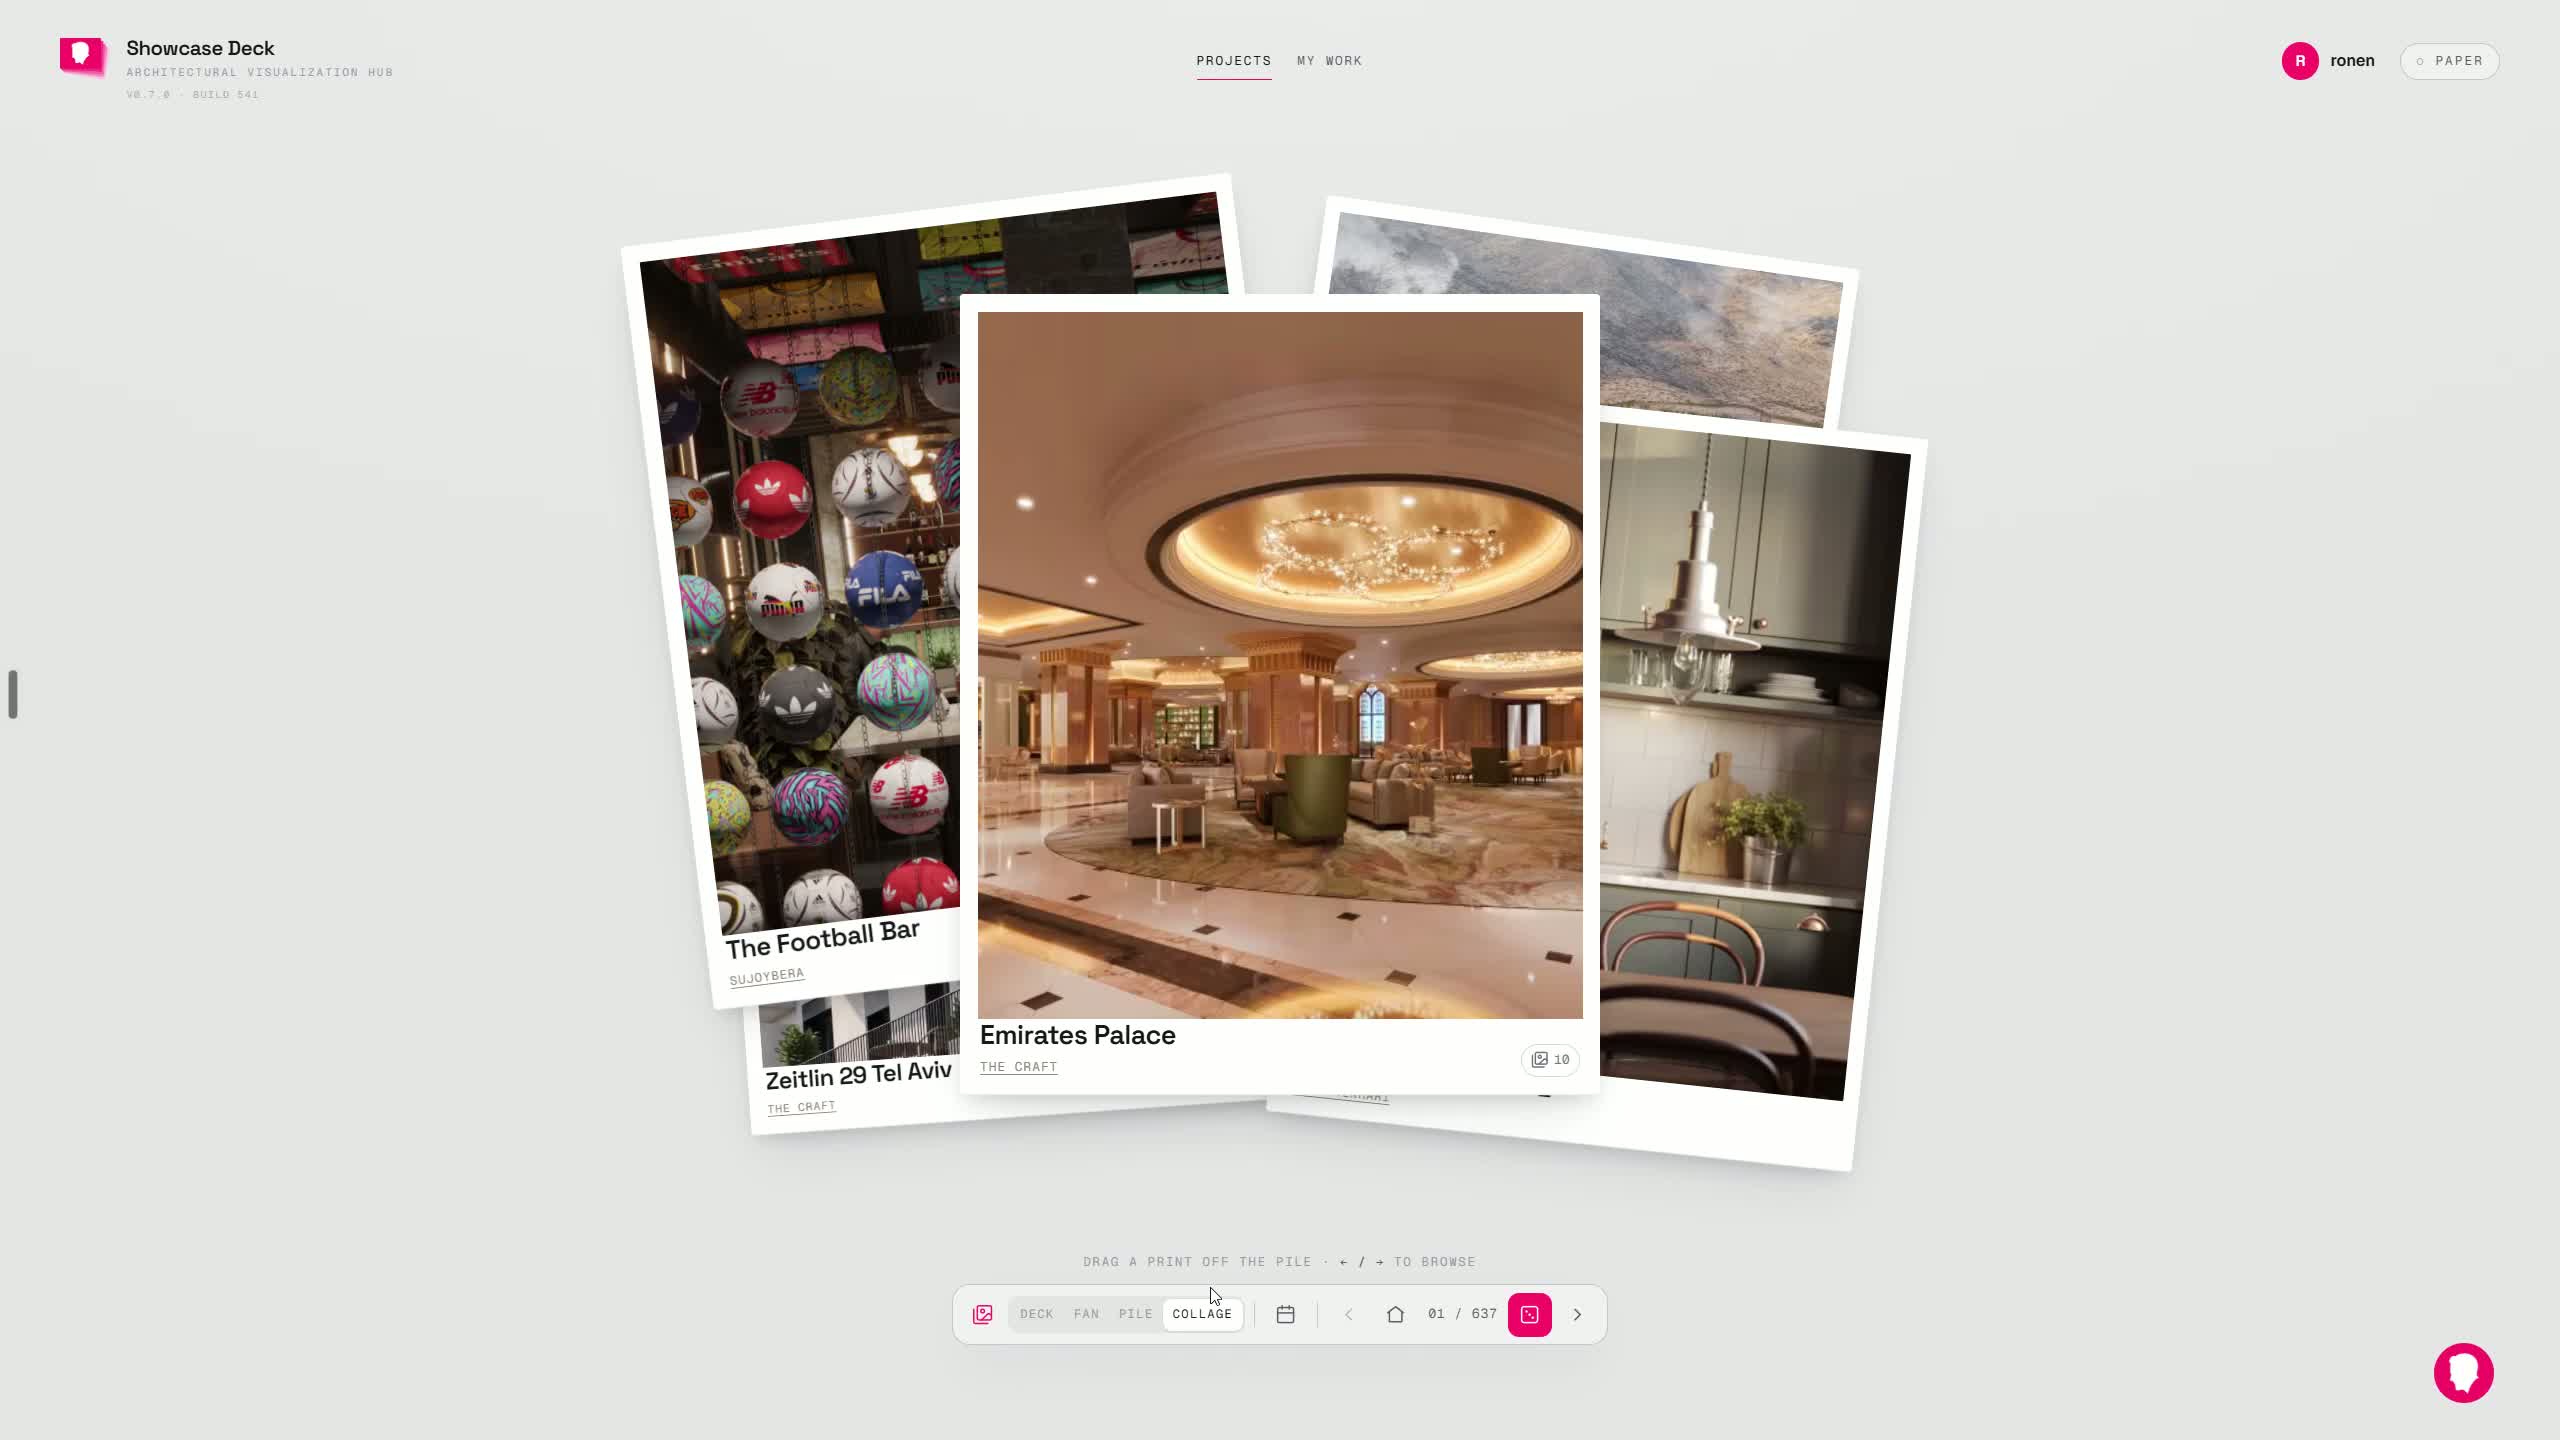
- Start by selecting the card deck layout you prefer.
- Available display styles include:
- In the demo, the speaker chooses collage.
2. Browse projects by batch or date
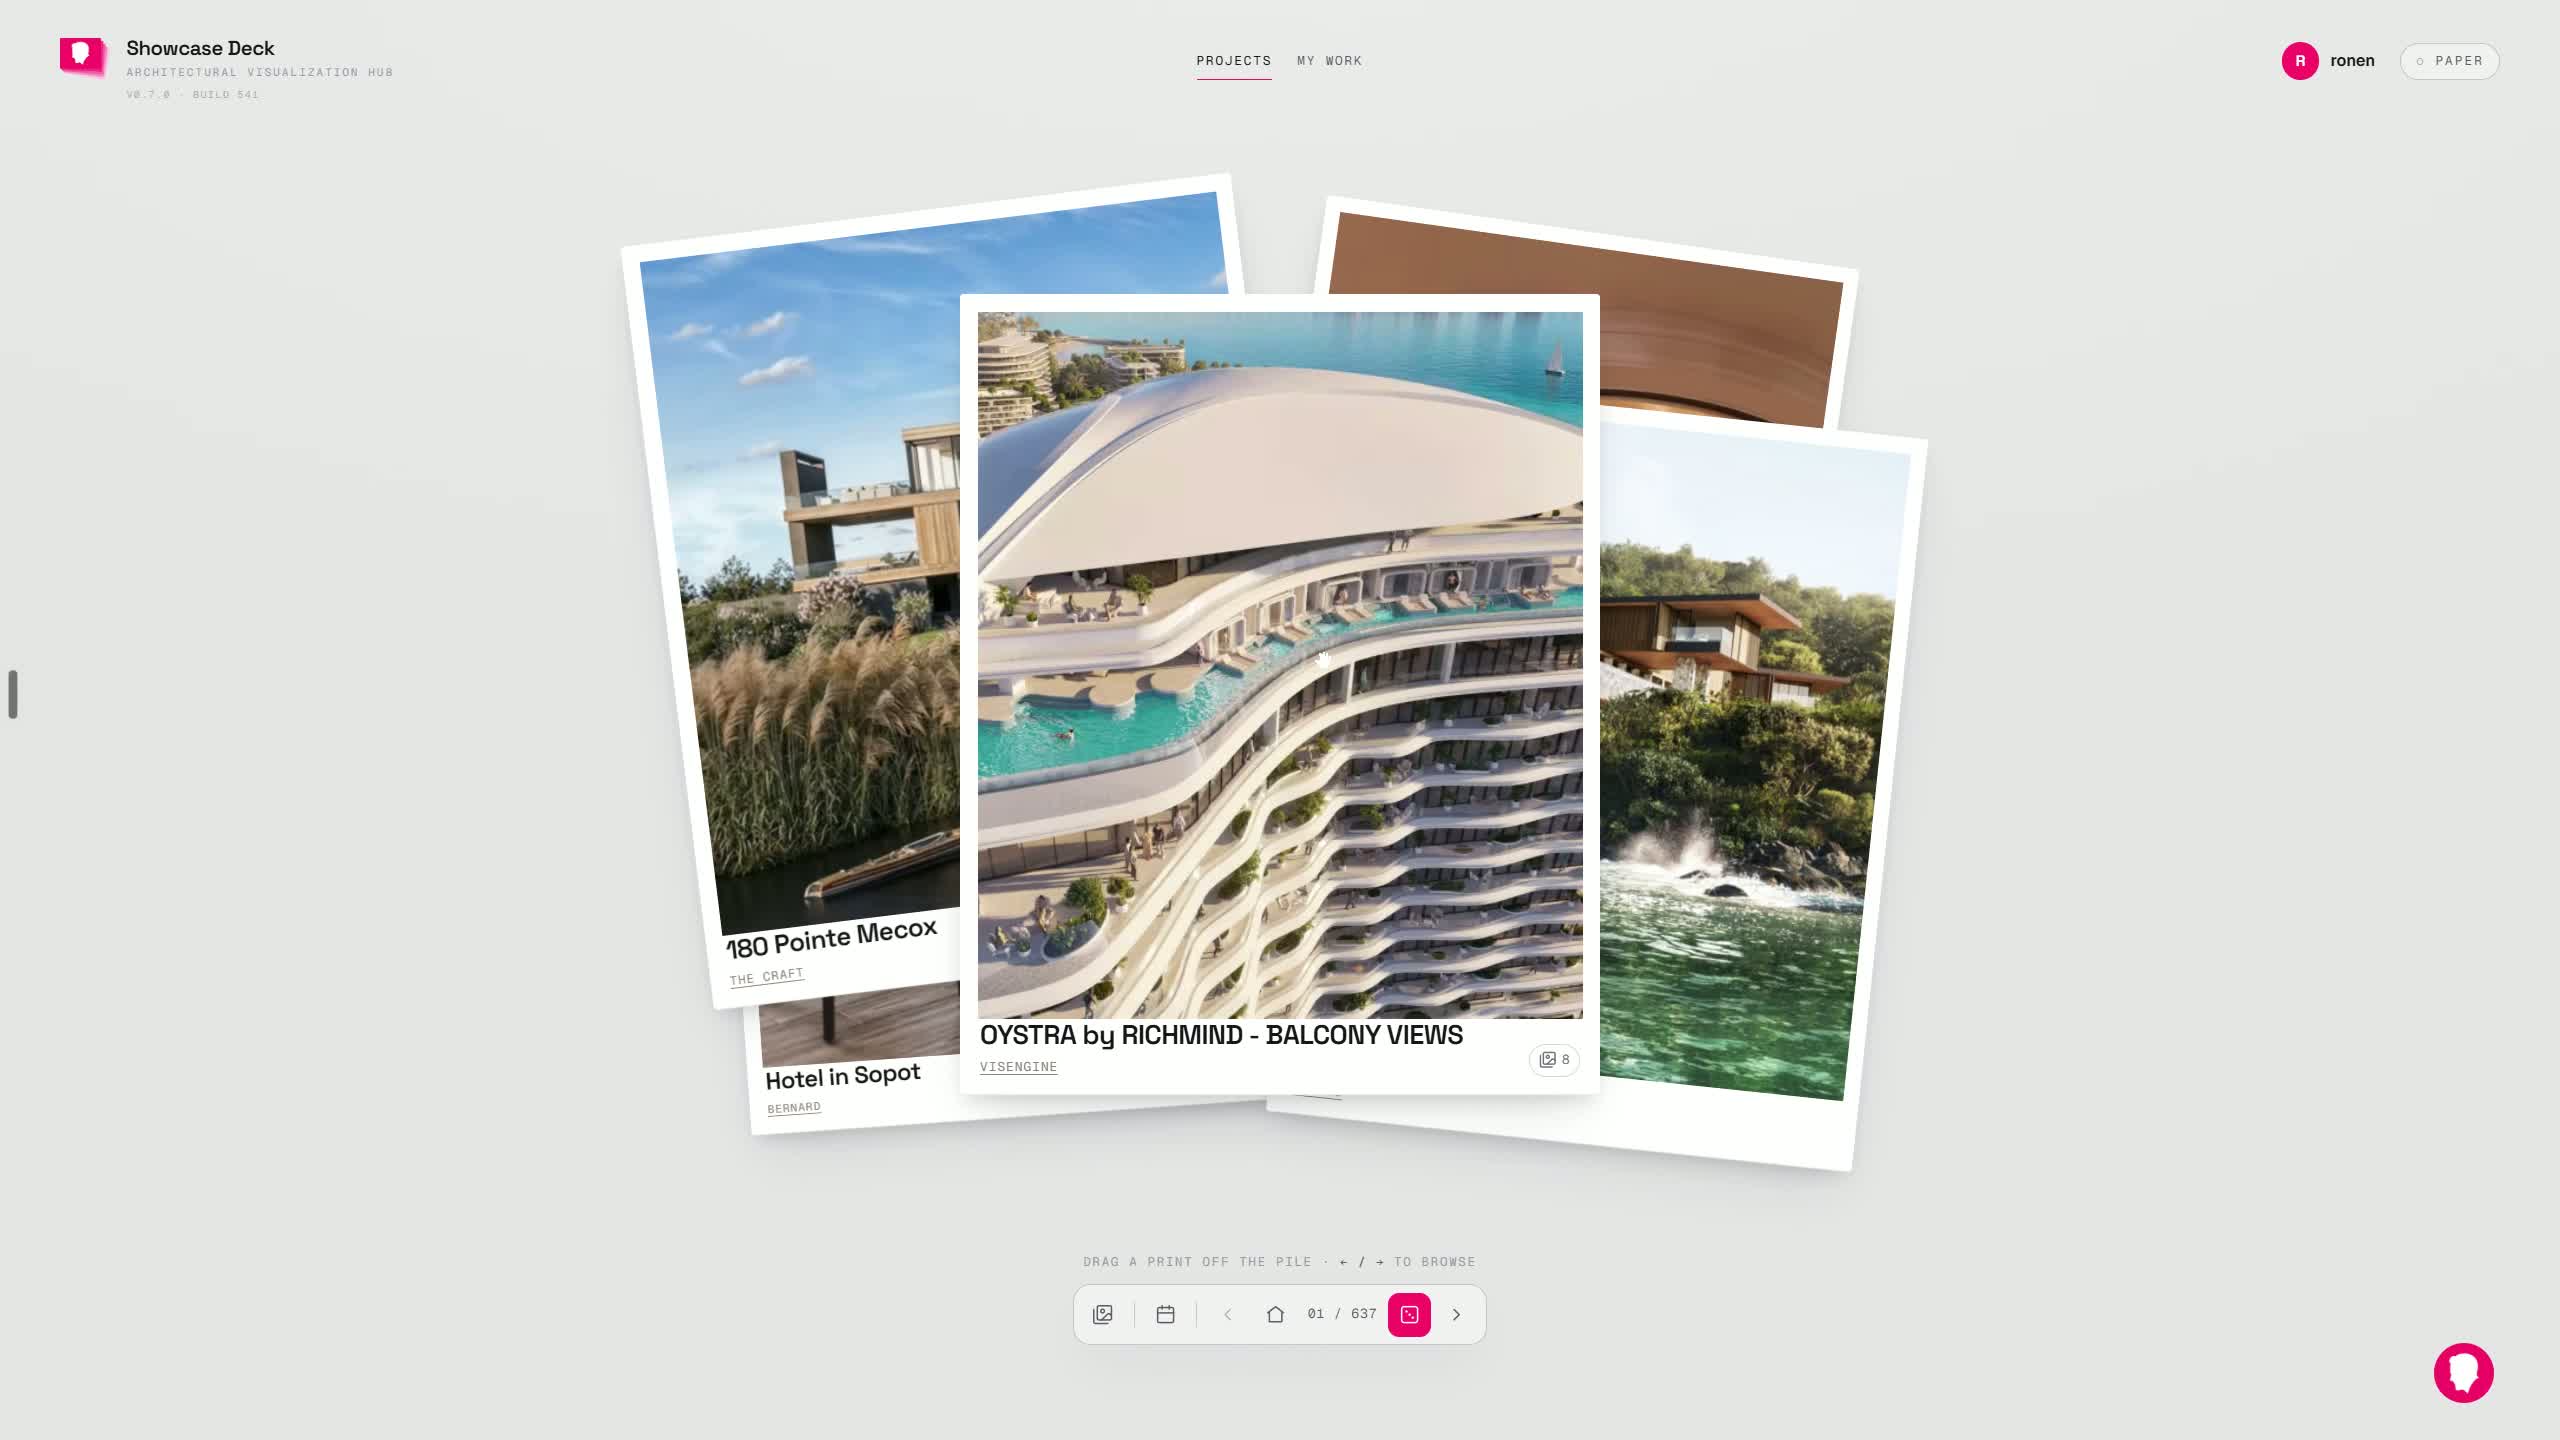
- You can browse content in several ways:
- By batch
- By random time point using the dice
- By date
- The example jumps to 2020 → March.
- More browsing options will be added later.
3. Understand the difference between imported and native projects
- In My Work, you’ll see both:
- Published projects
- Imported projects from the old website/profile
- Native projects created on the new system
- Imported projects have a small edit button.
- Native projects do not show that same edit path because they are already part of the new system.
4. Edit imported projects through the back-of-print view
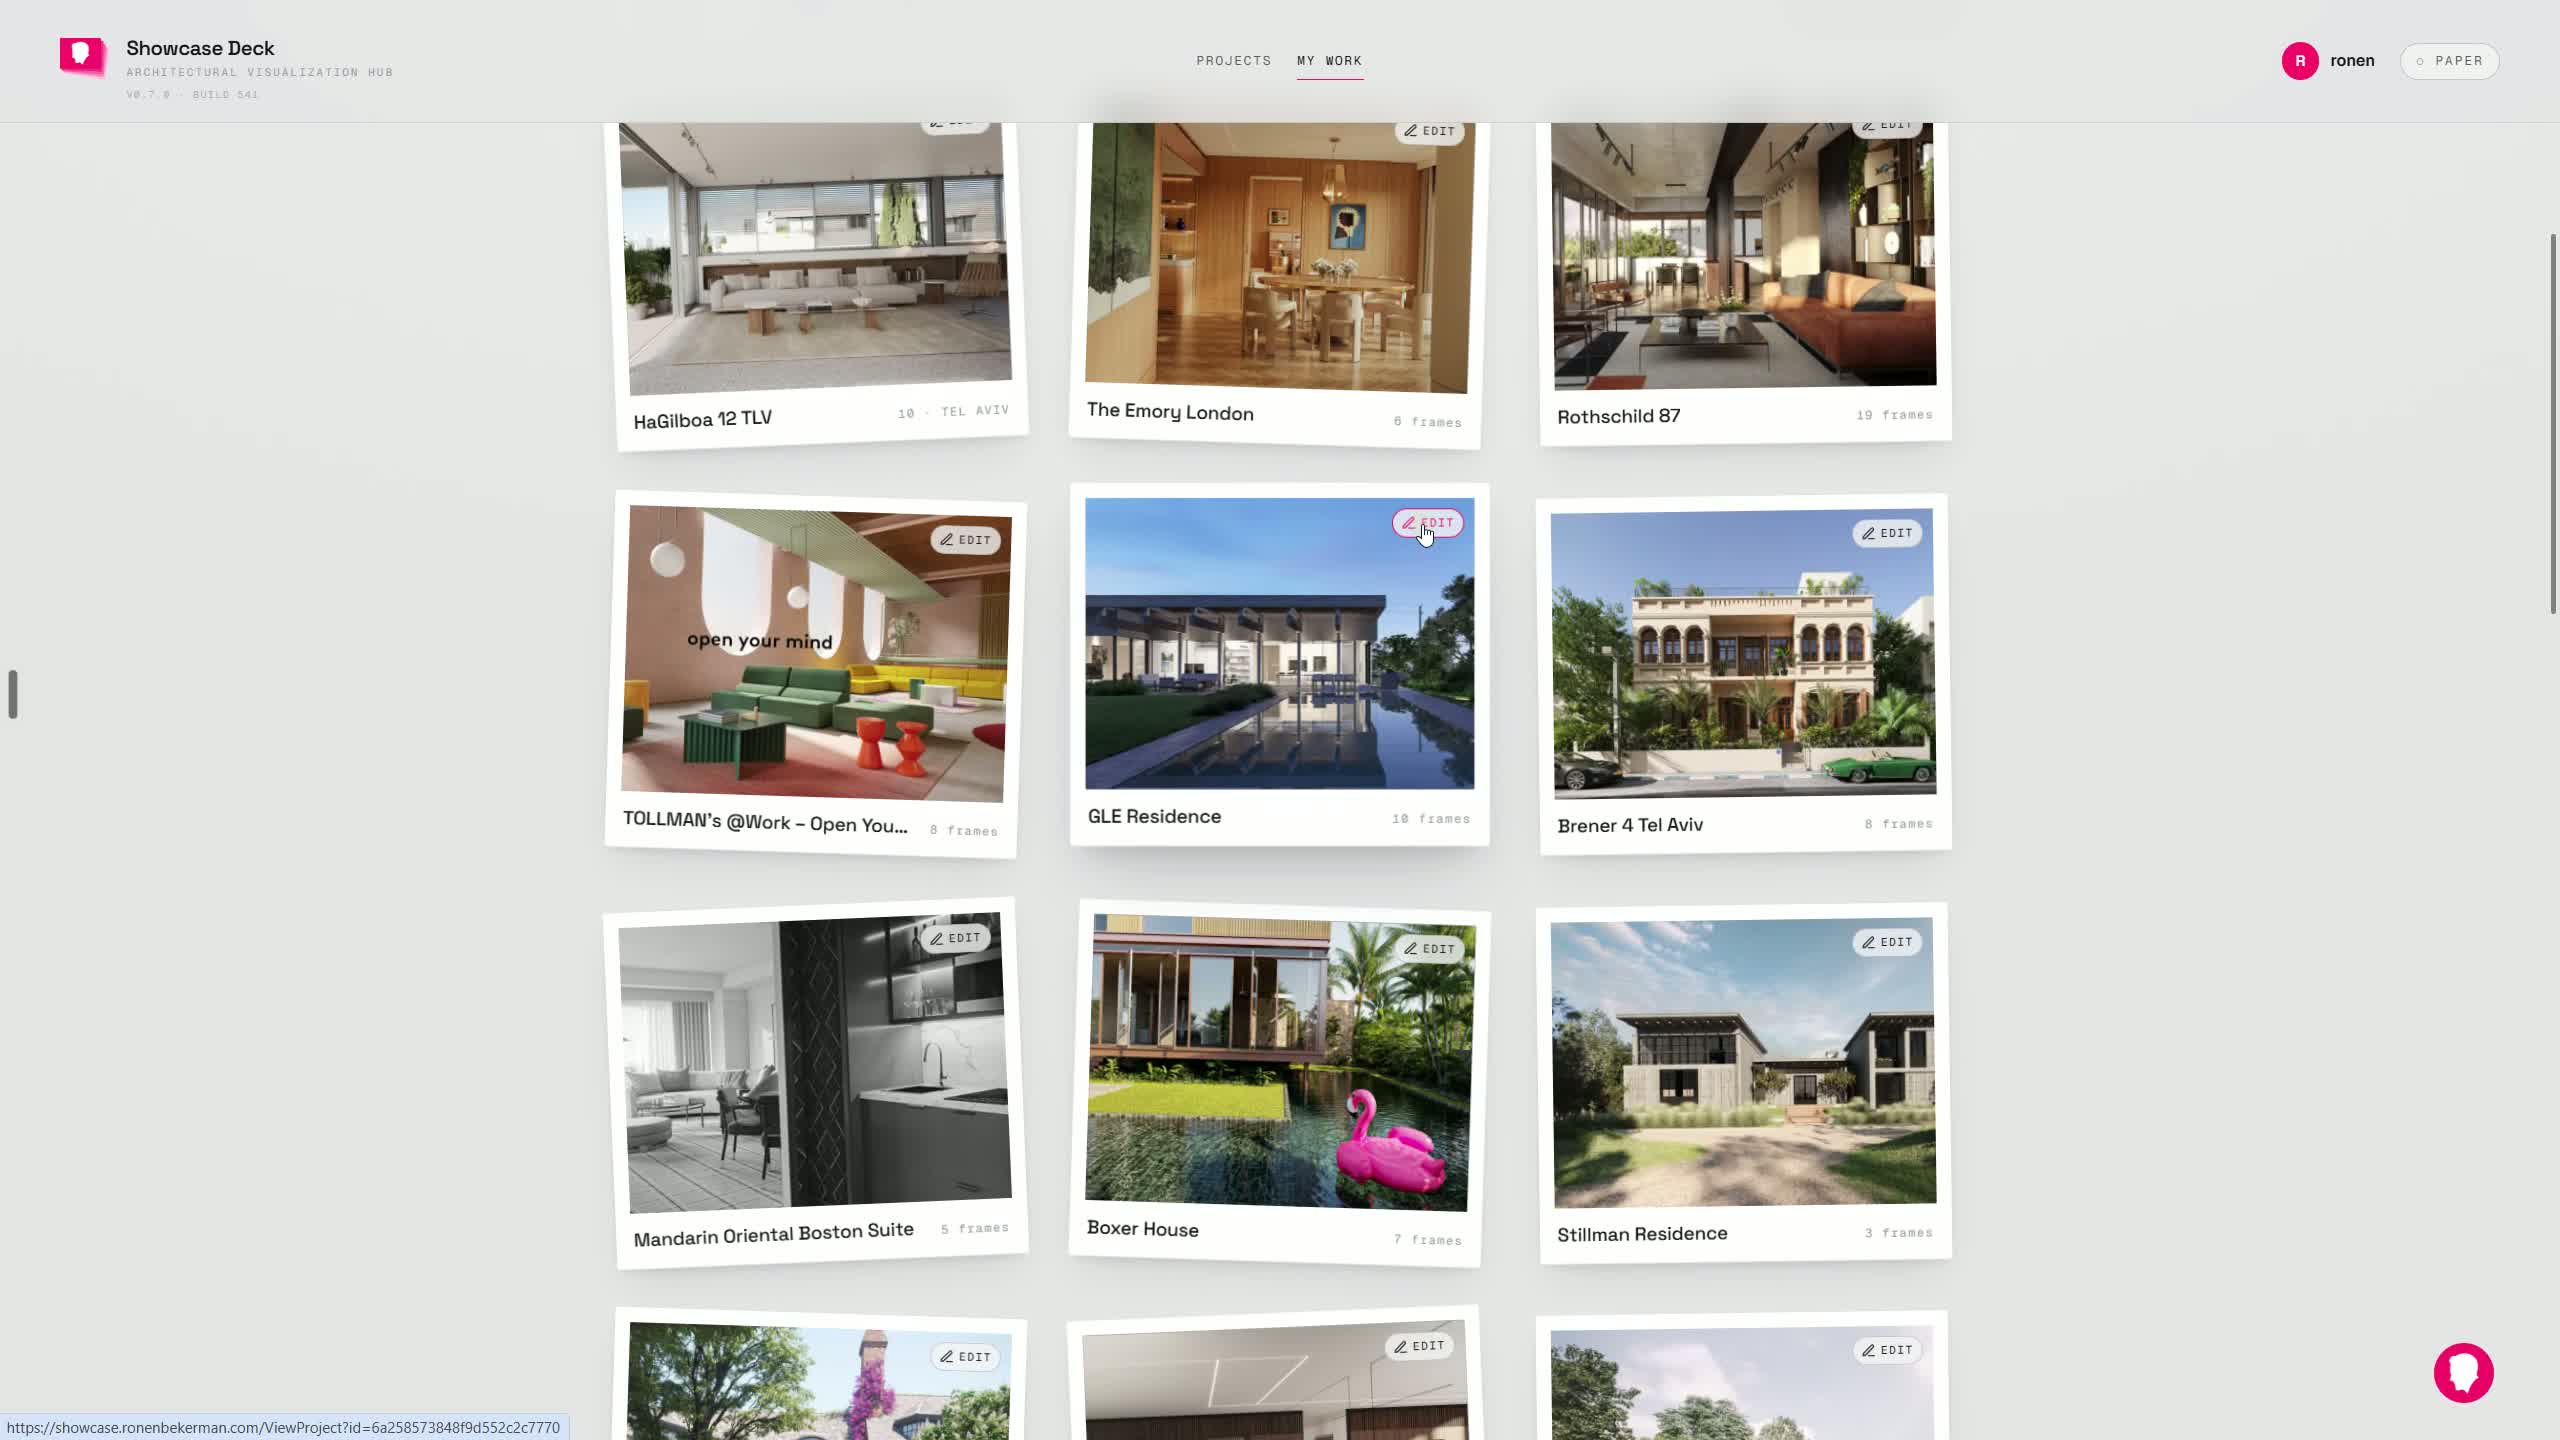
- For imported projects, click the edit button.
- This opens Back of Print, where you can make changes.
- Changes are saved after editing.
- From the project page, you can also:
- Visit the original URL
- Open the card deck / Scattered Gallery view
5. Create or update a project’s main properties
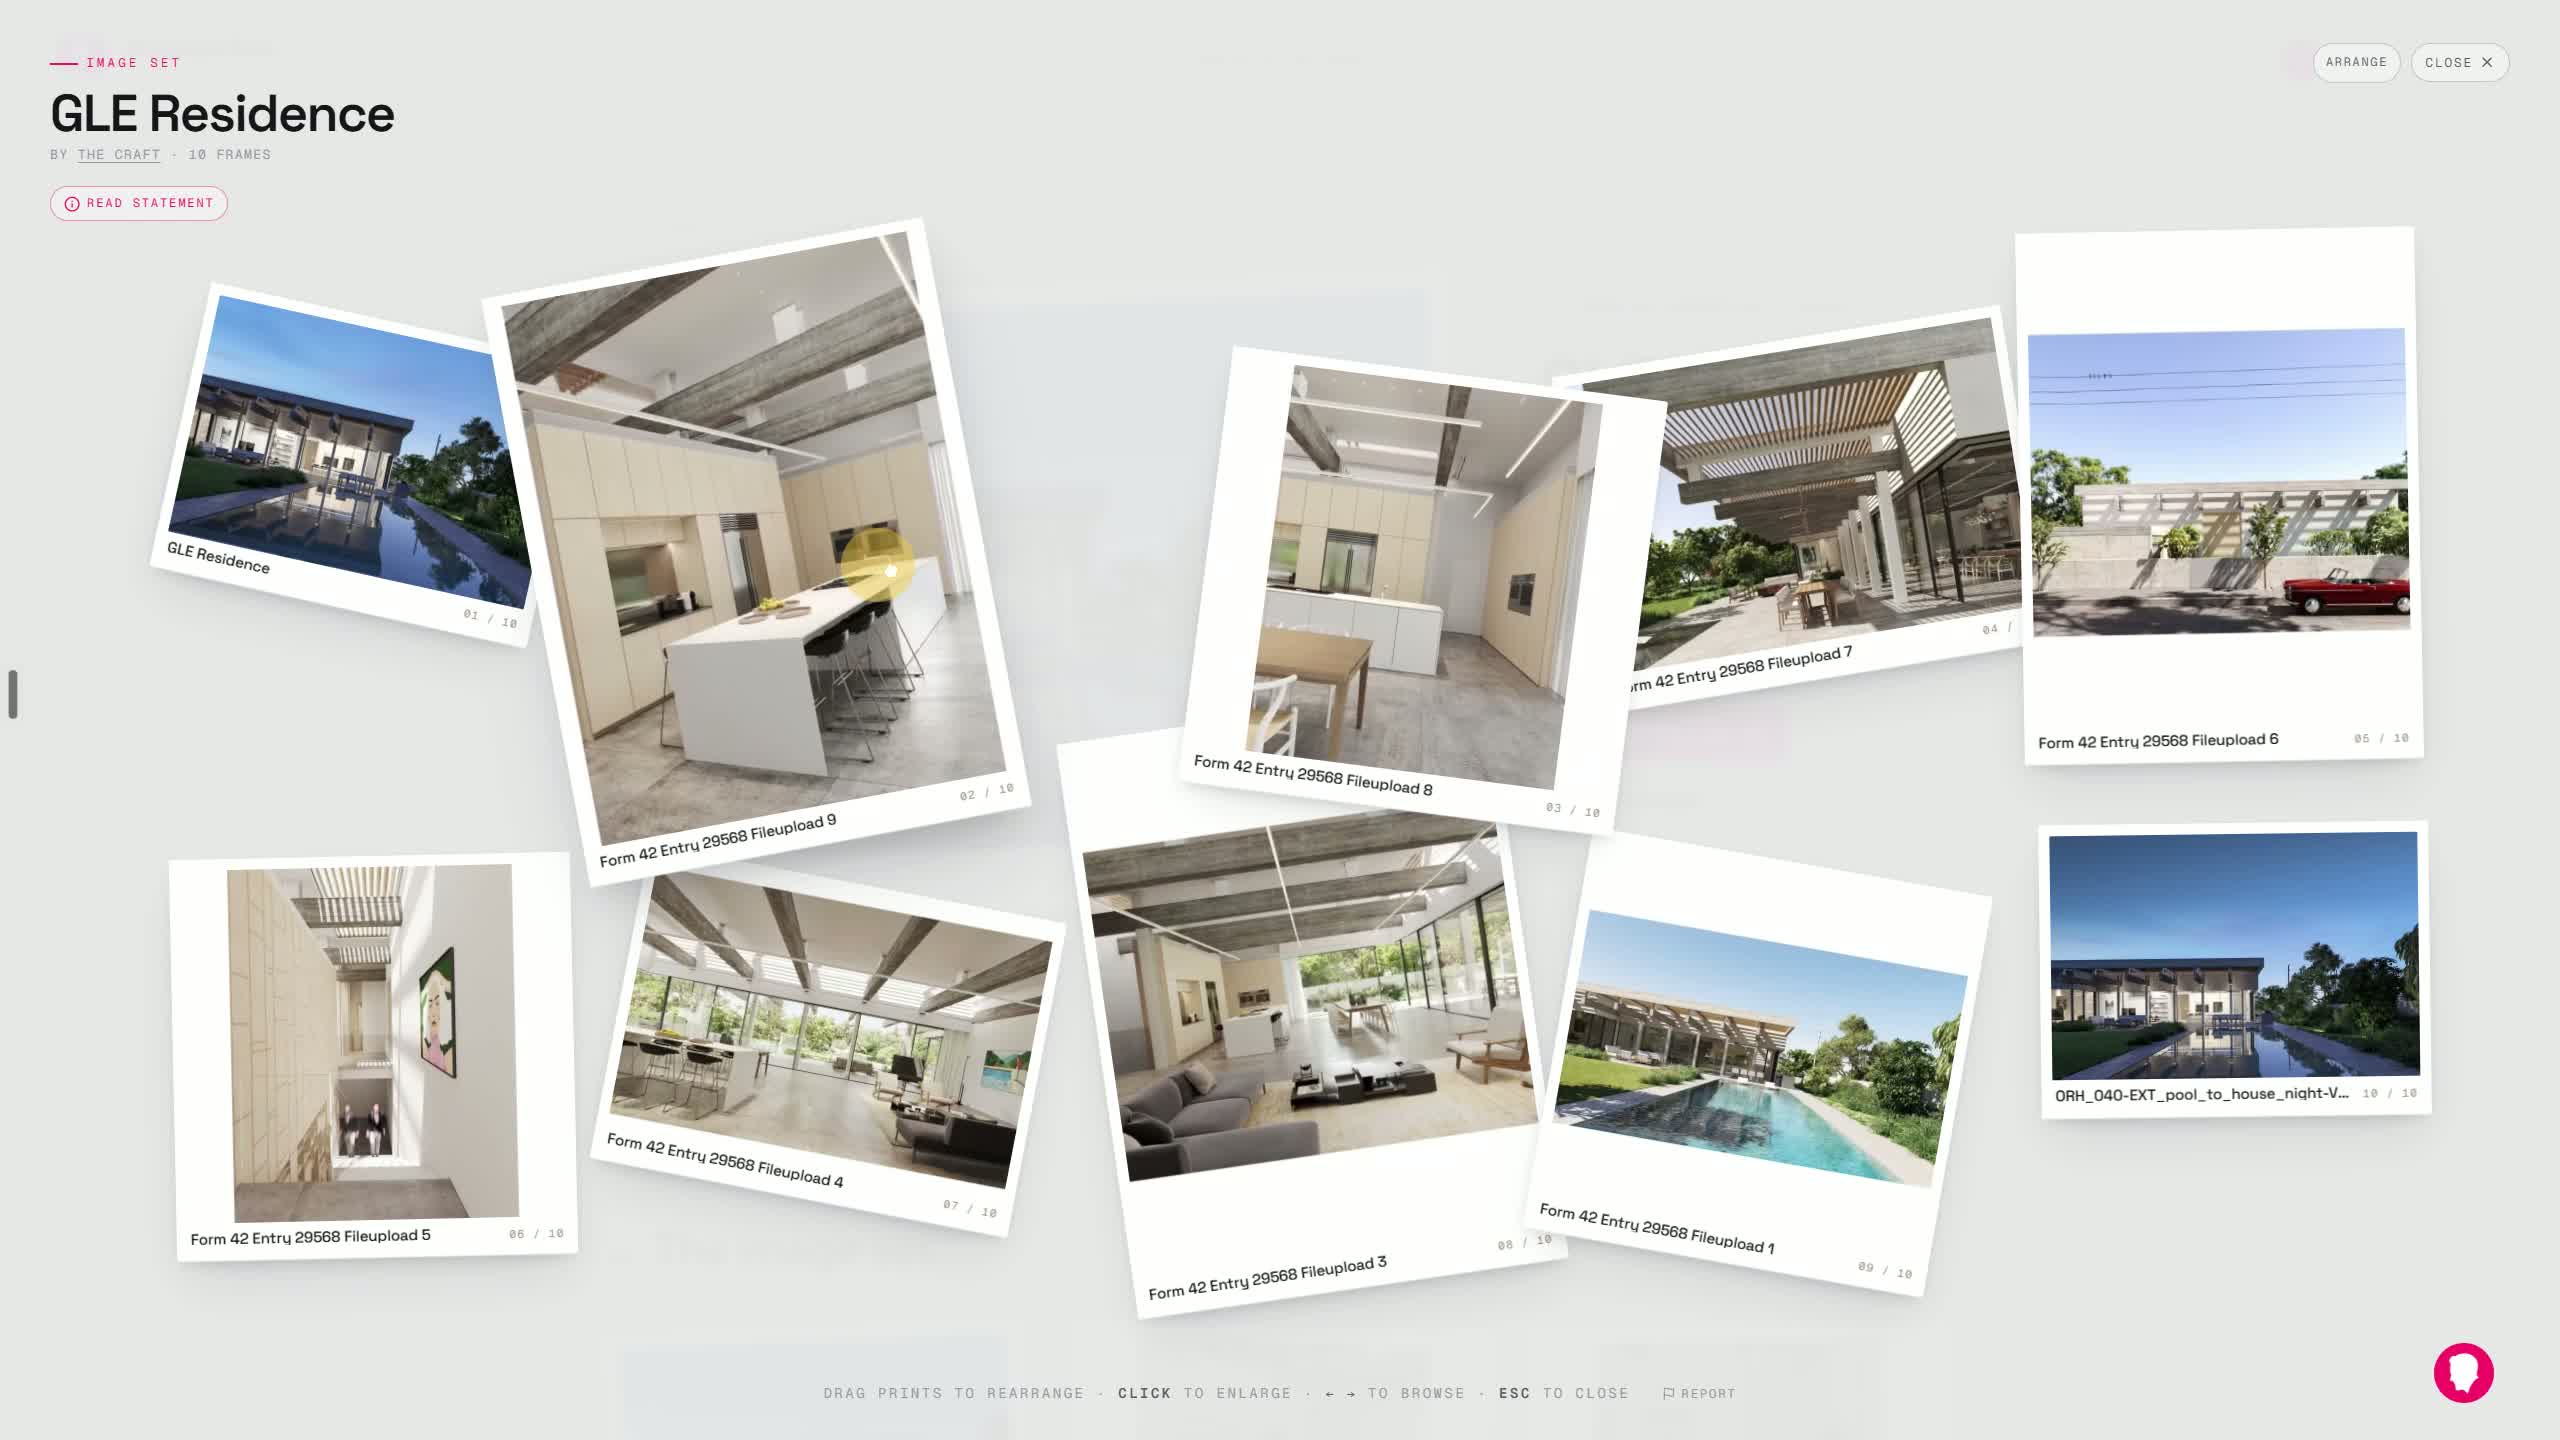
- When creating a project, use the project creation page.
- From there you can:
- Edit project properties
- Remove or restore images
- Change the header / hero image
- You can also adjust the focus point of the hero image.
- The speaker recommends cropping around the most important part of the image.
6. Open the Arrange tools for any project
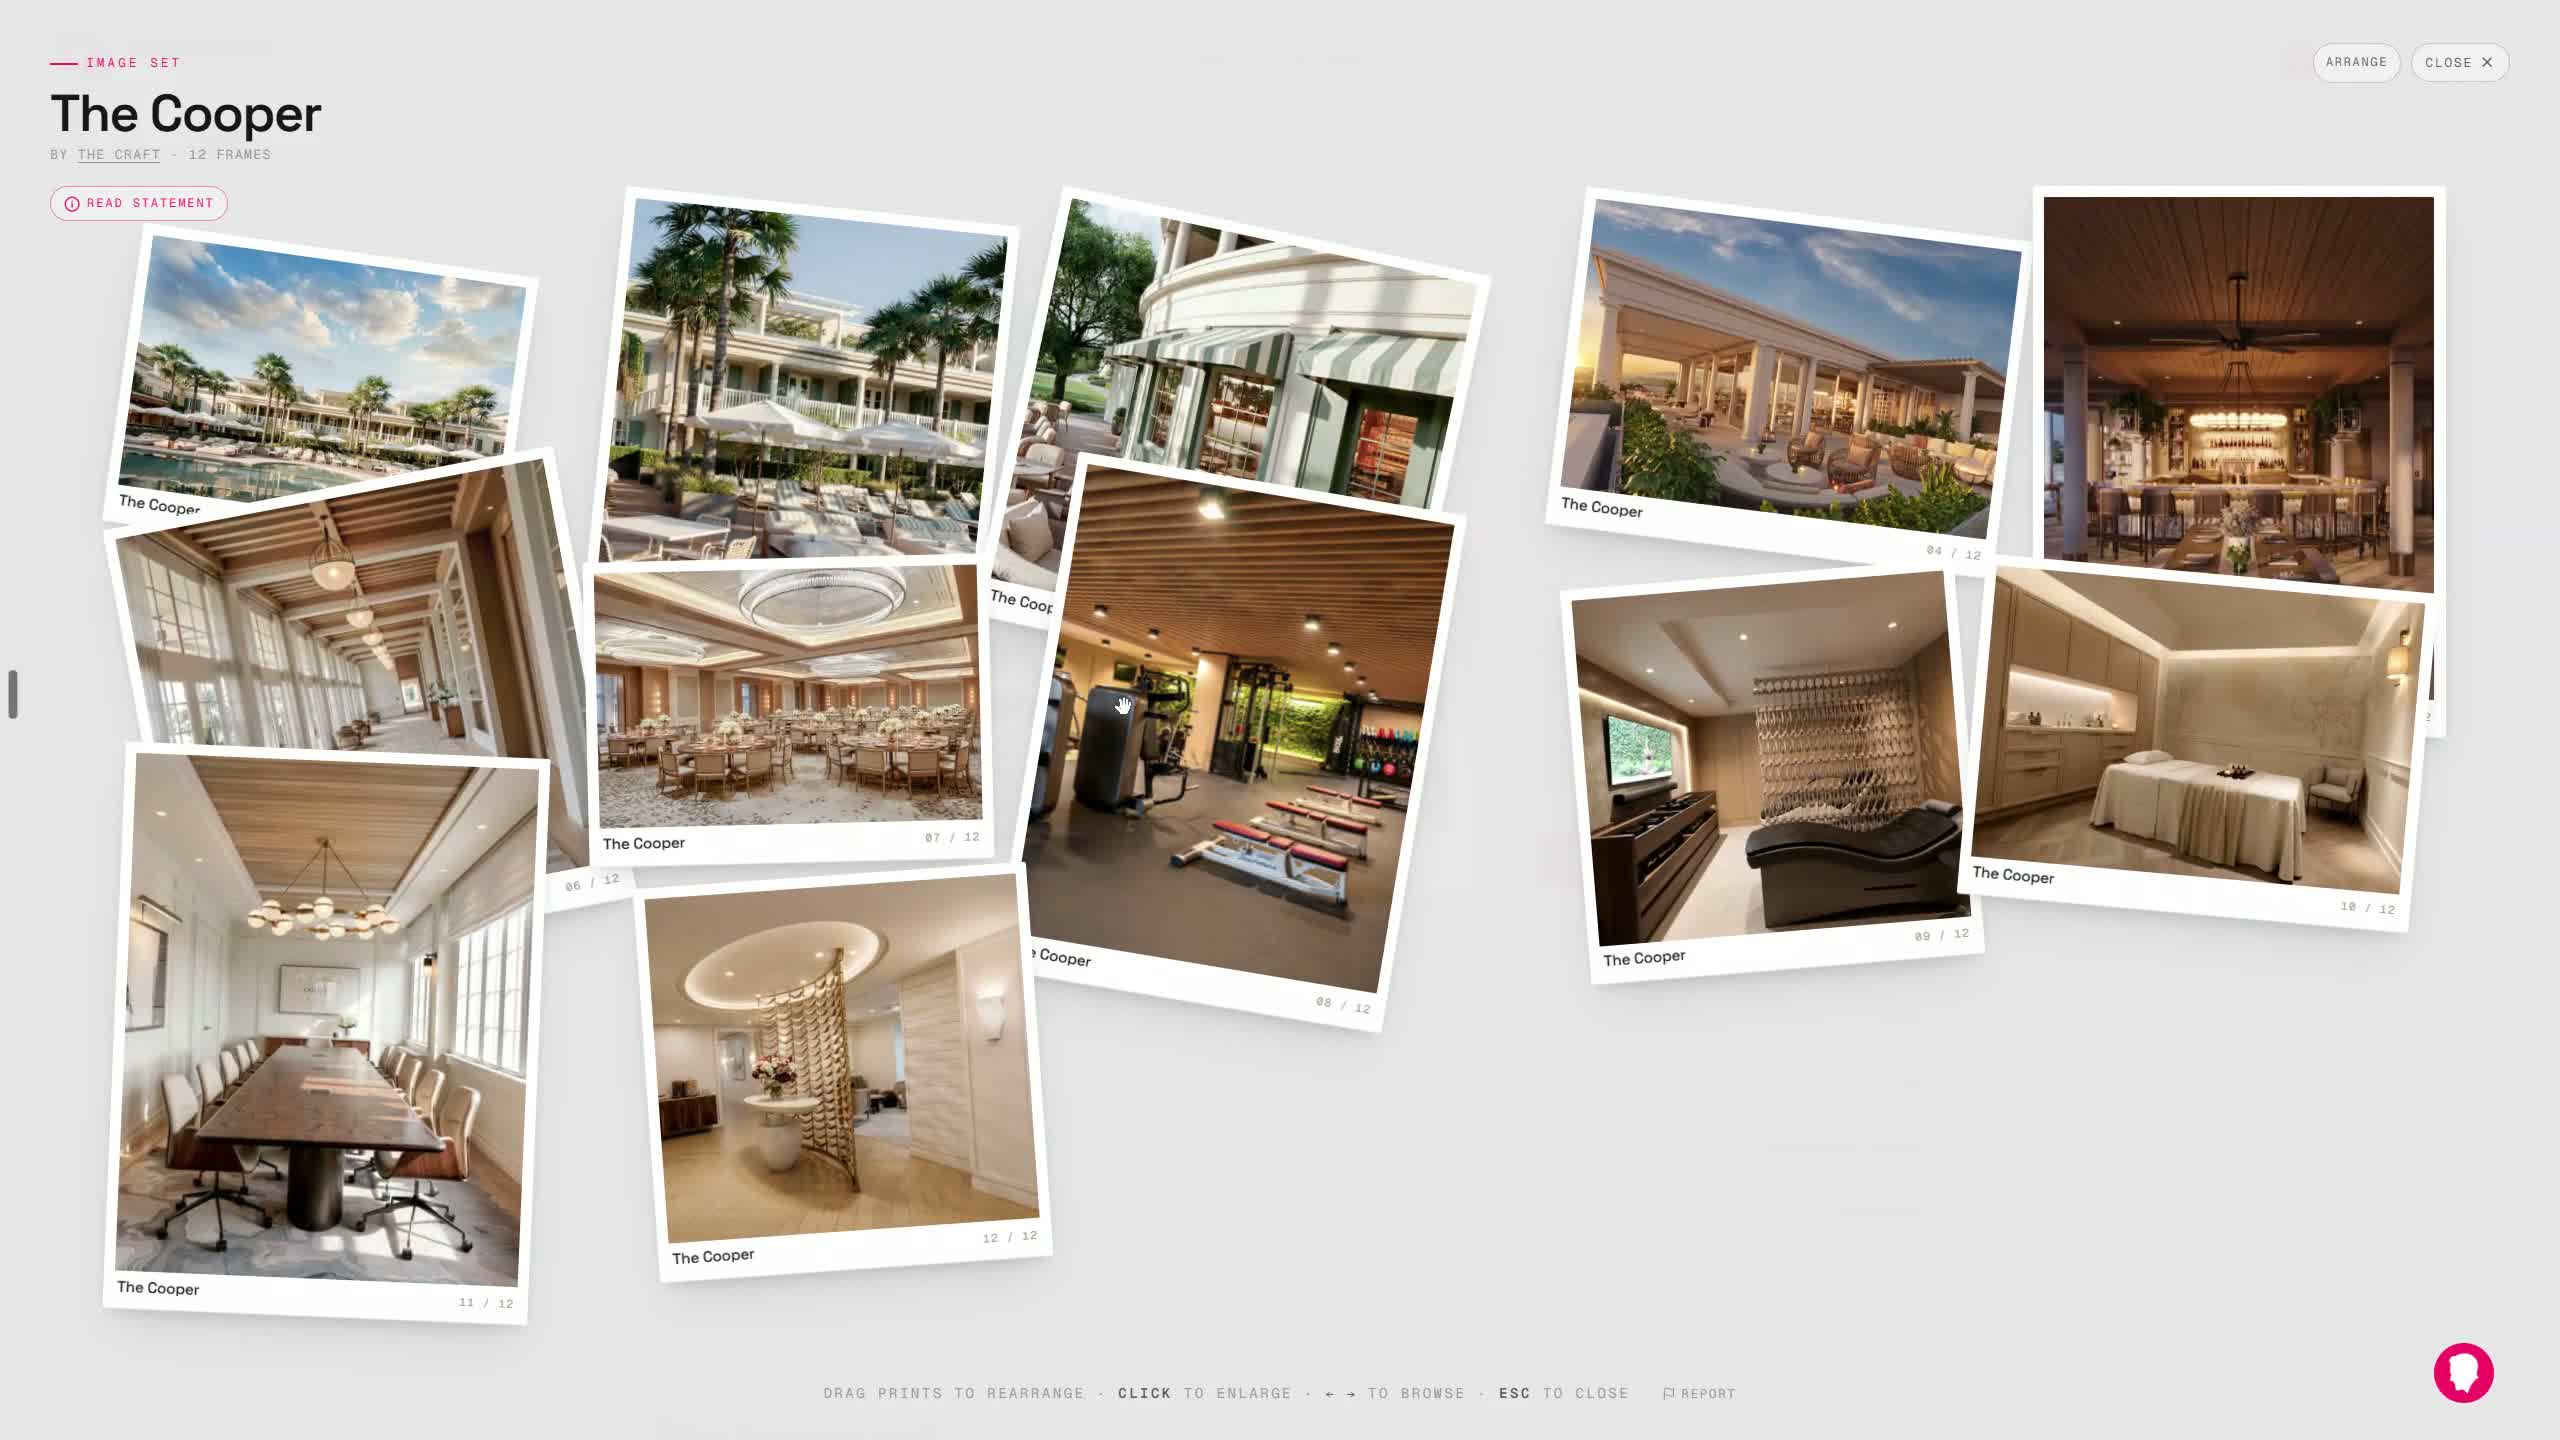
- Every project should now have an Arrange button.
- This works for both:
- Imported projects
- Newly created projects
- Clicking Arrange opens the editing tools used to reposition and style the project.
7. Hide elements and adjust image framing
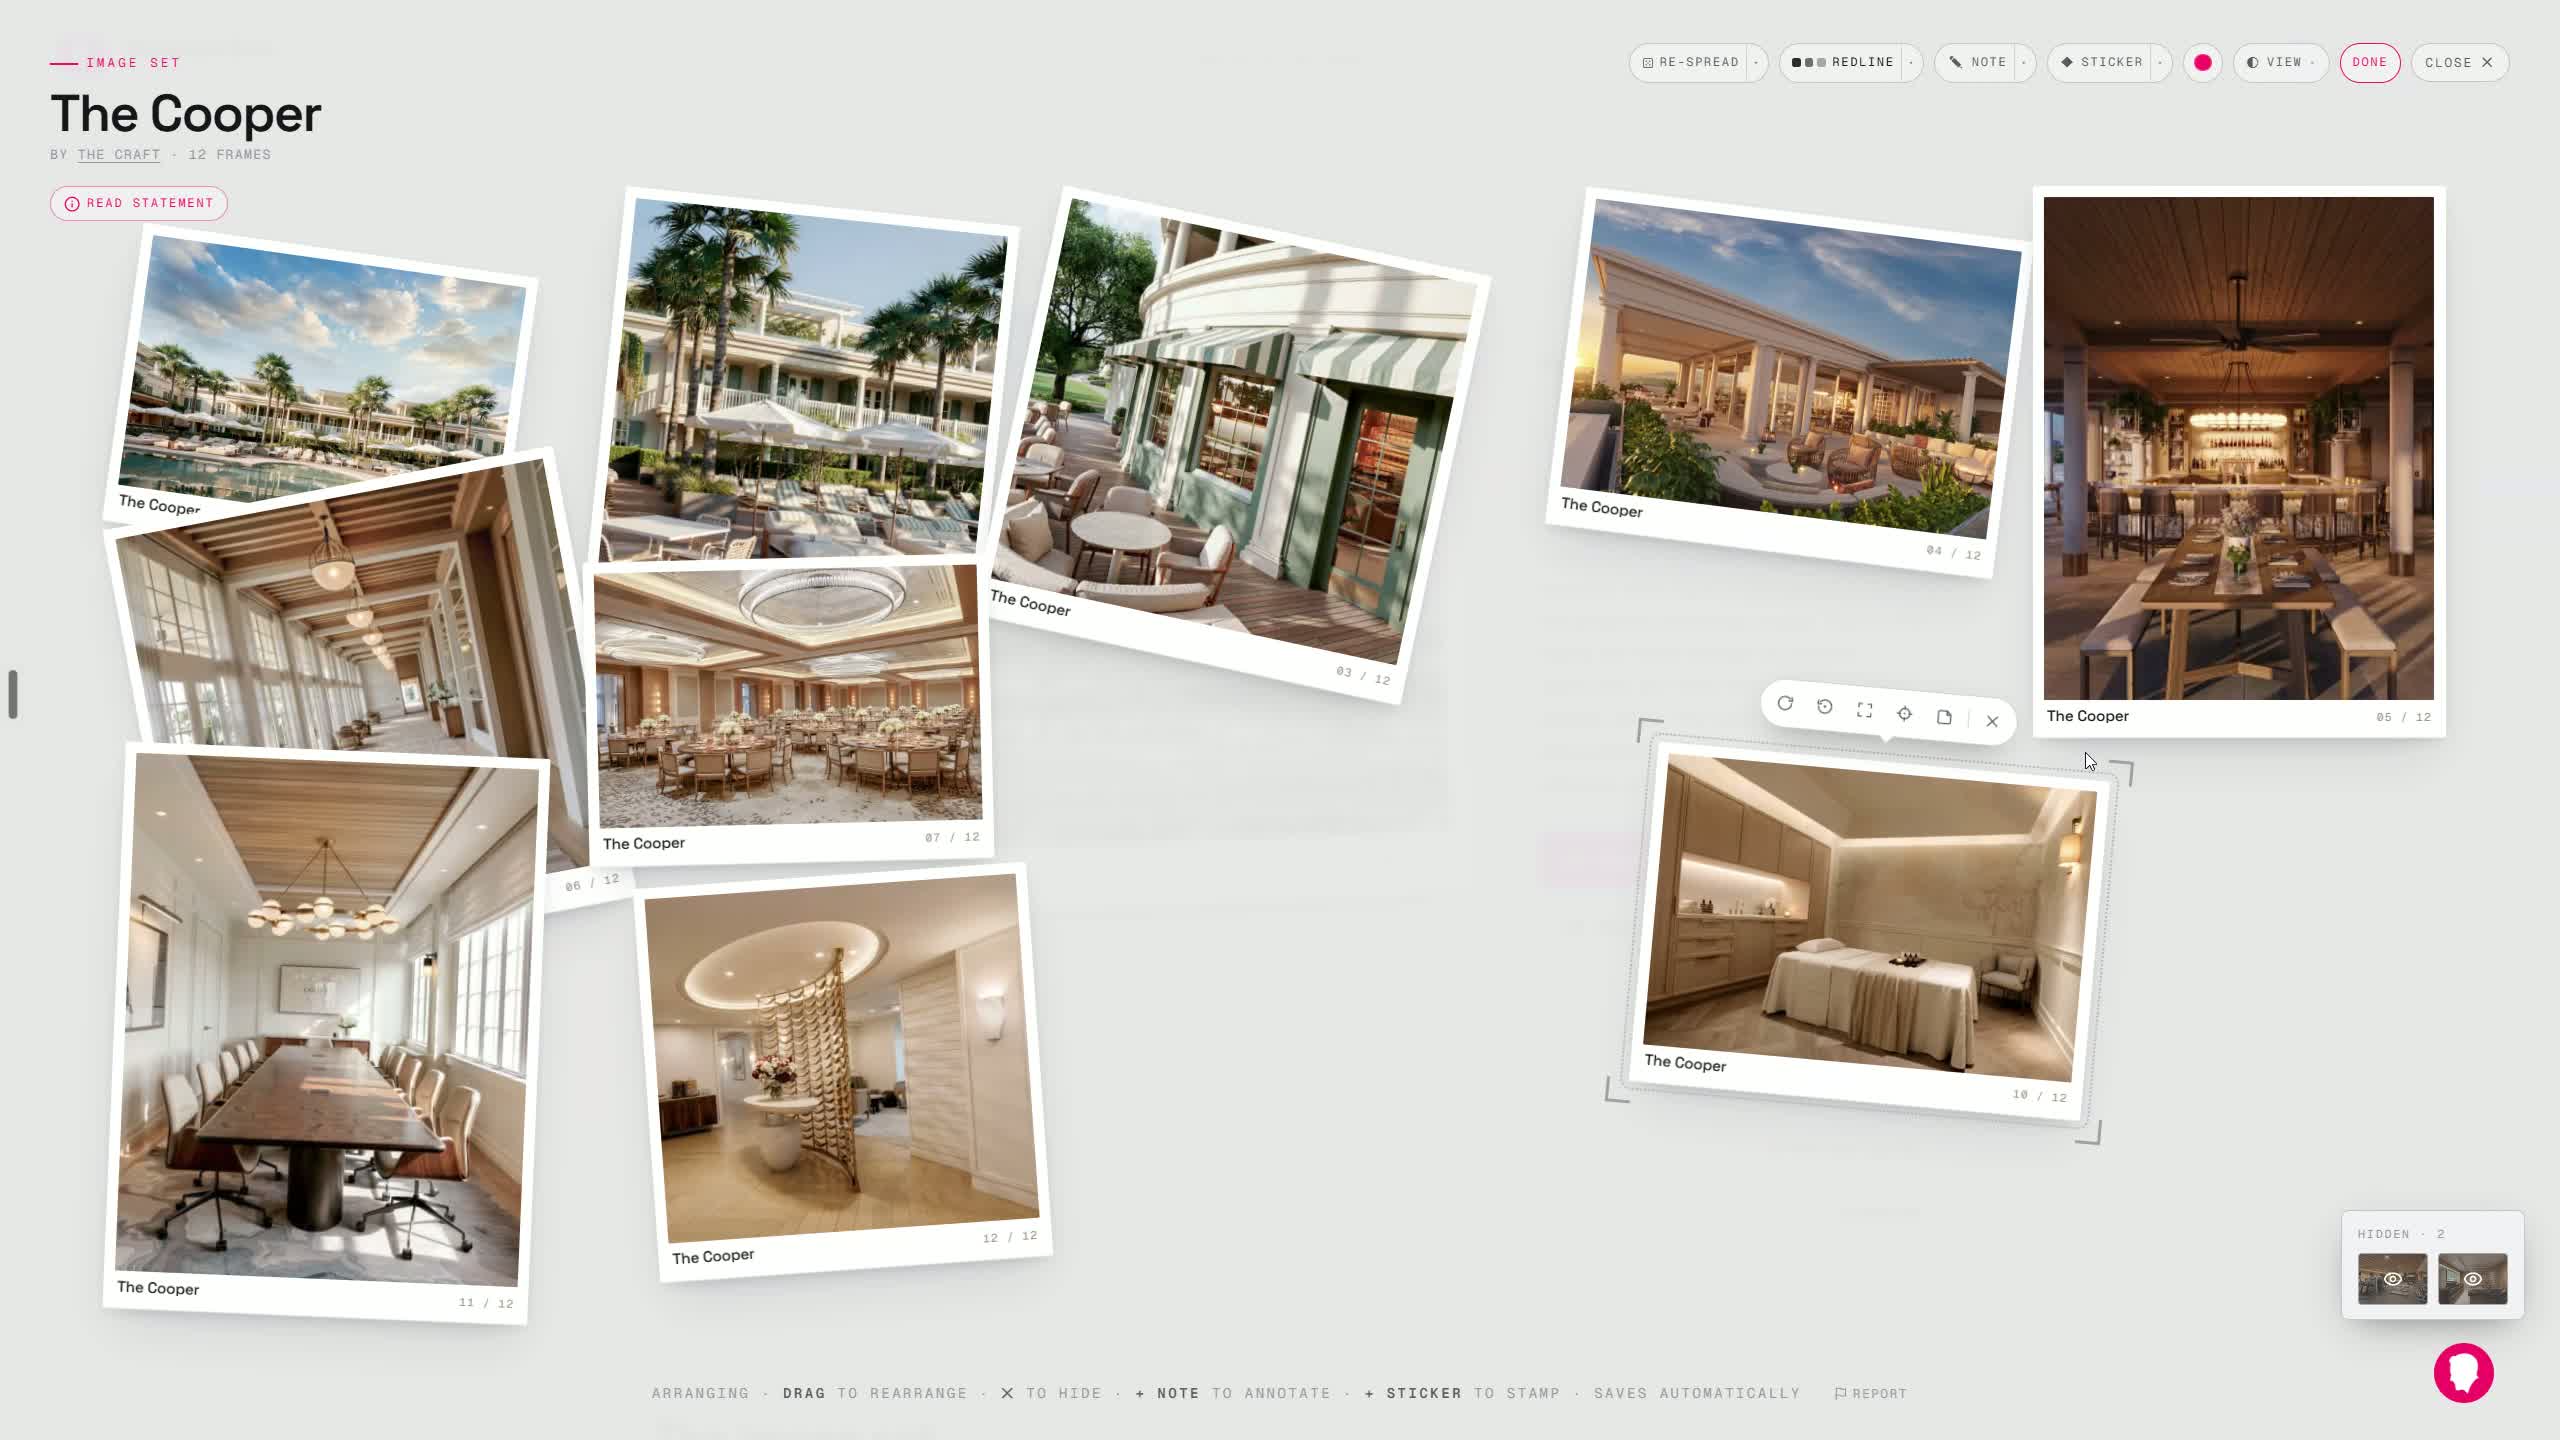
- You can hide individual elements to make editing easier.
- Hiding items does not affect the public/live version of the project.
- You can then:
- Fit the image inside the frame
- Enlarge it while holding Shift to preserve aspect ratio
- Jostle or reposition the image as needed
8. Save changes and confirm what persists
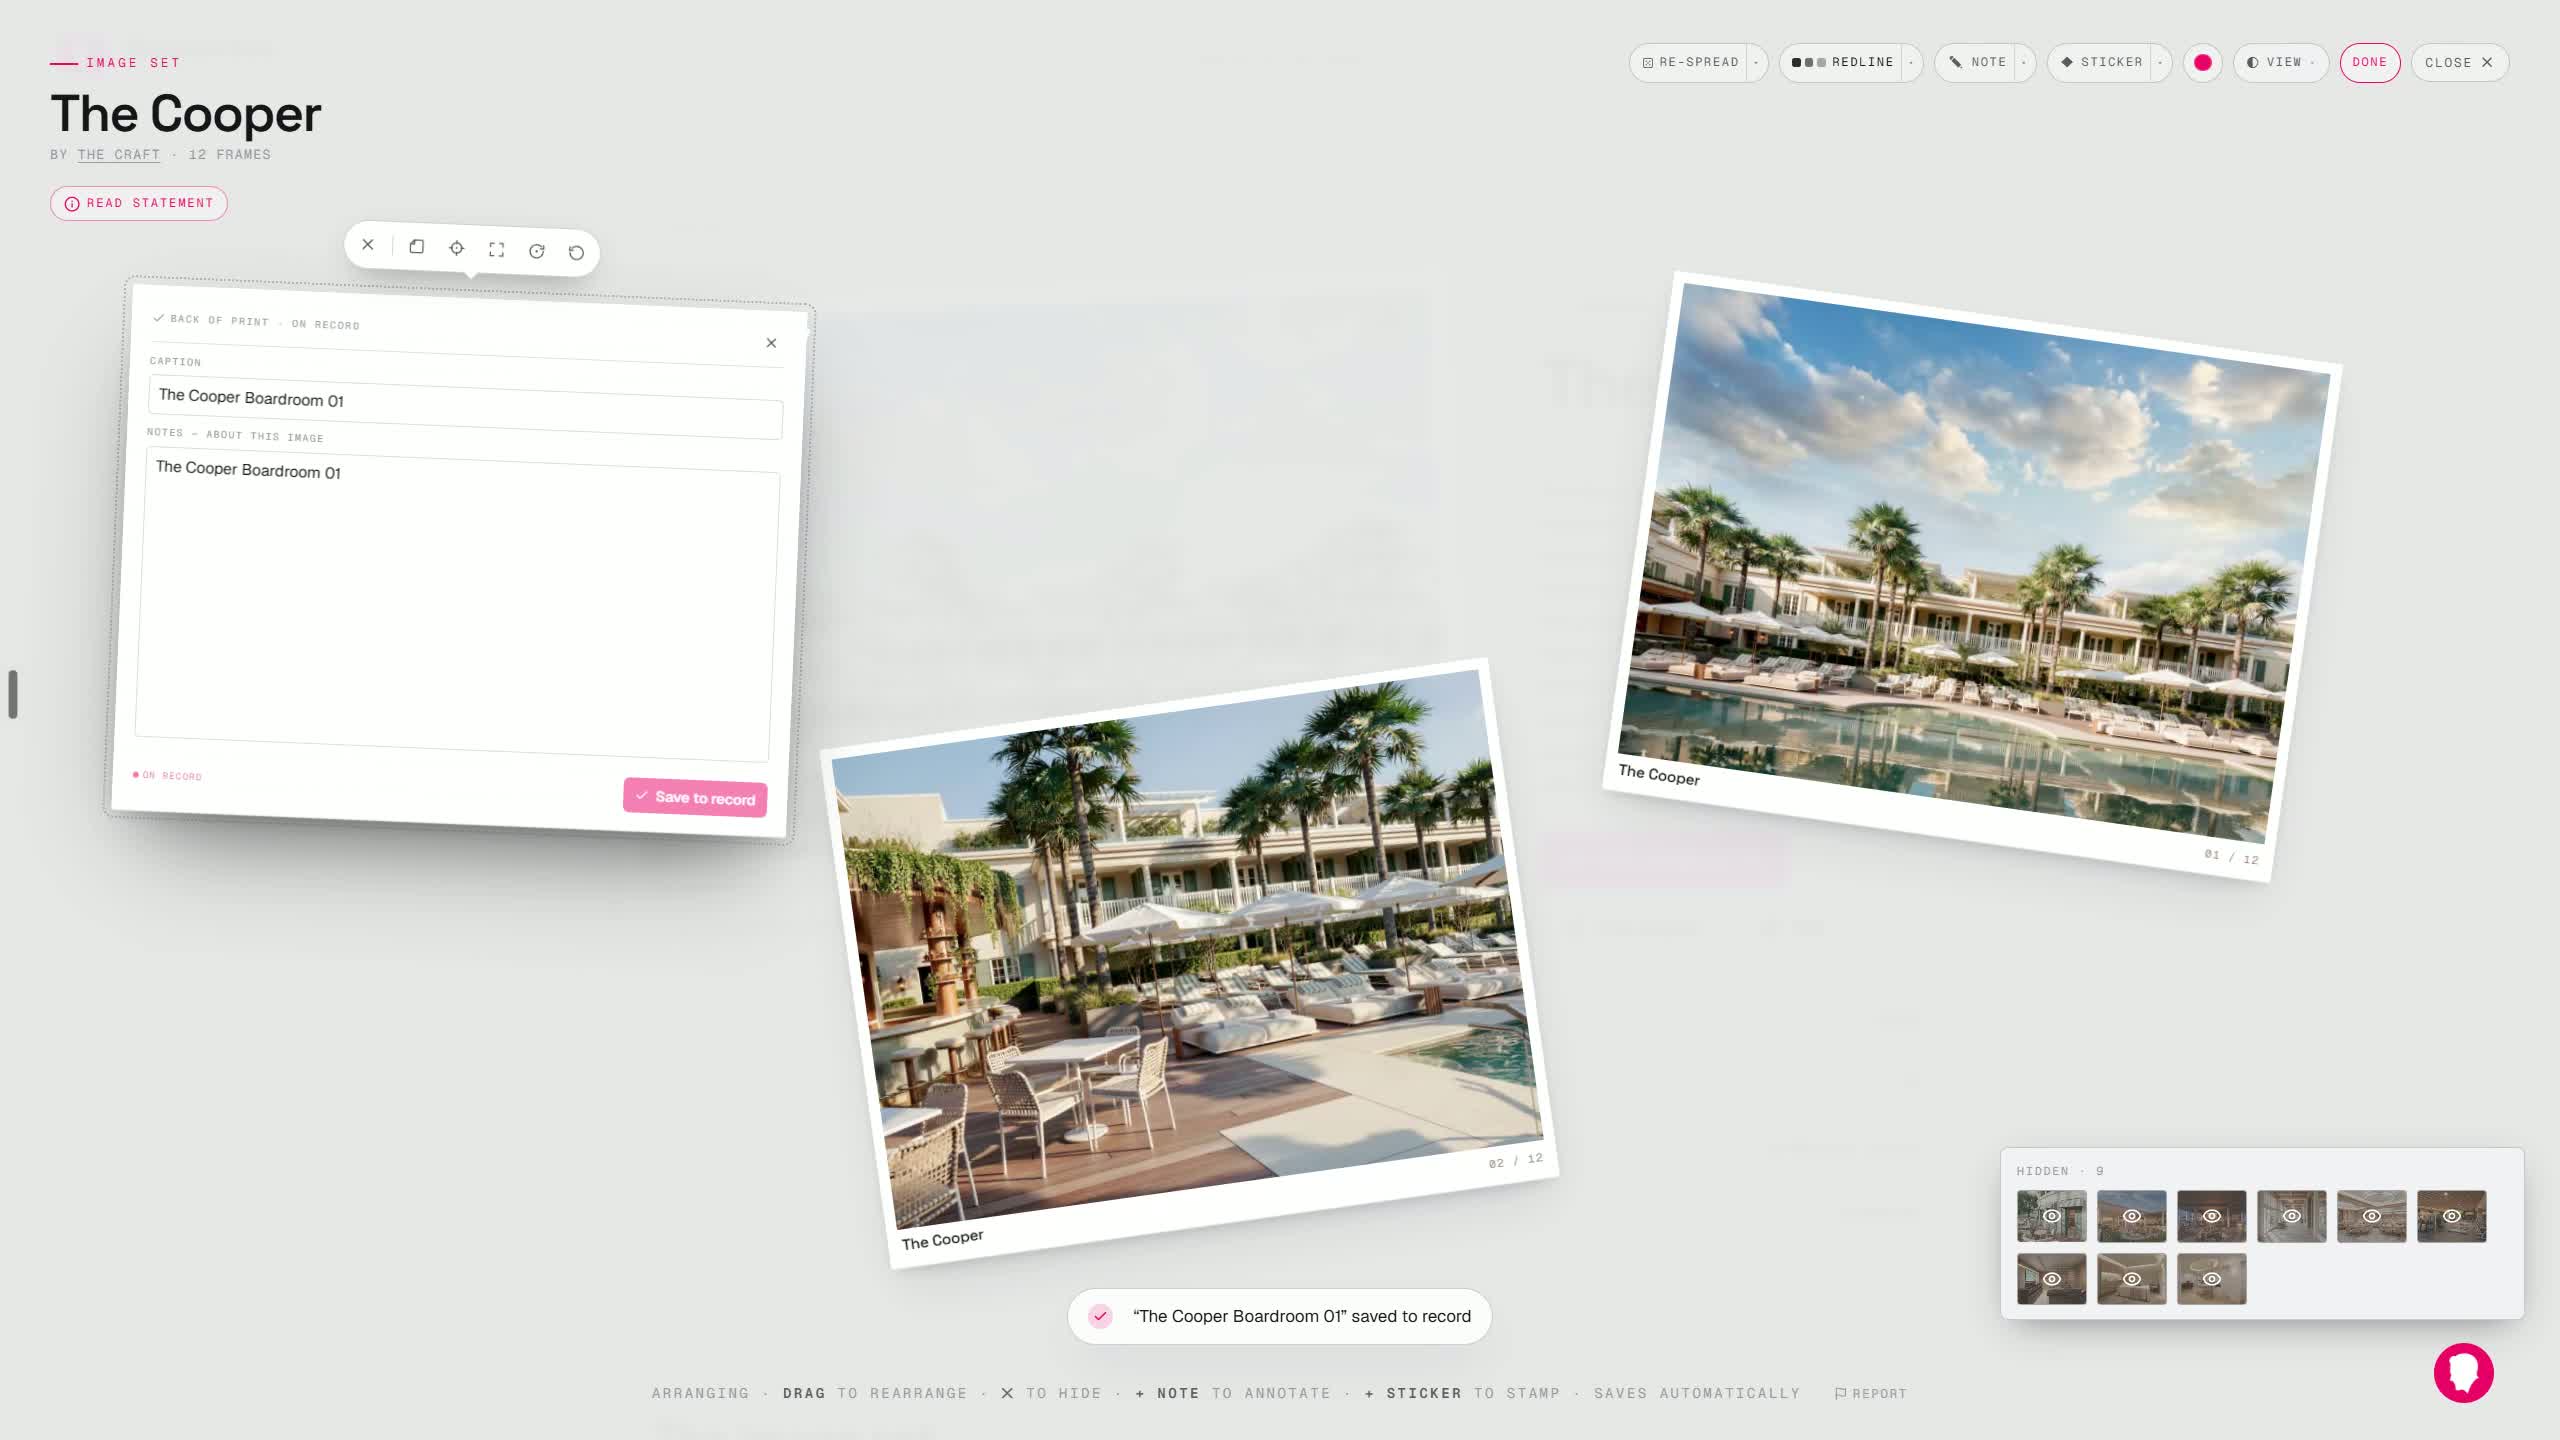
- Some edits are saved to the database.
- The speaker points out that the focus point is also saved to the database.
- When a change is persisted, you’ll see a message like “save to record.”
- This is how you know the edit is truly stored, not just temporary.
9. Know which edits are temporary vs. permanent
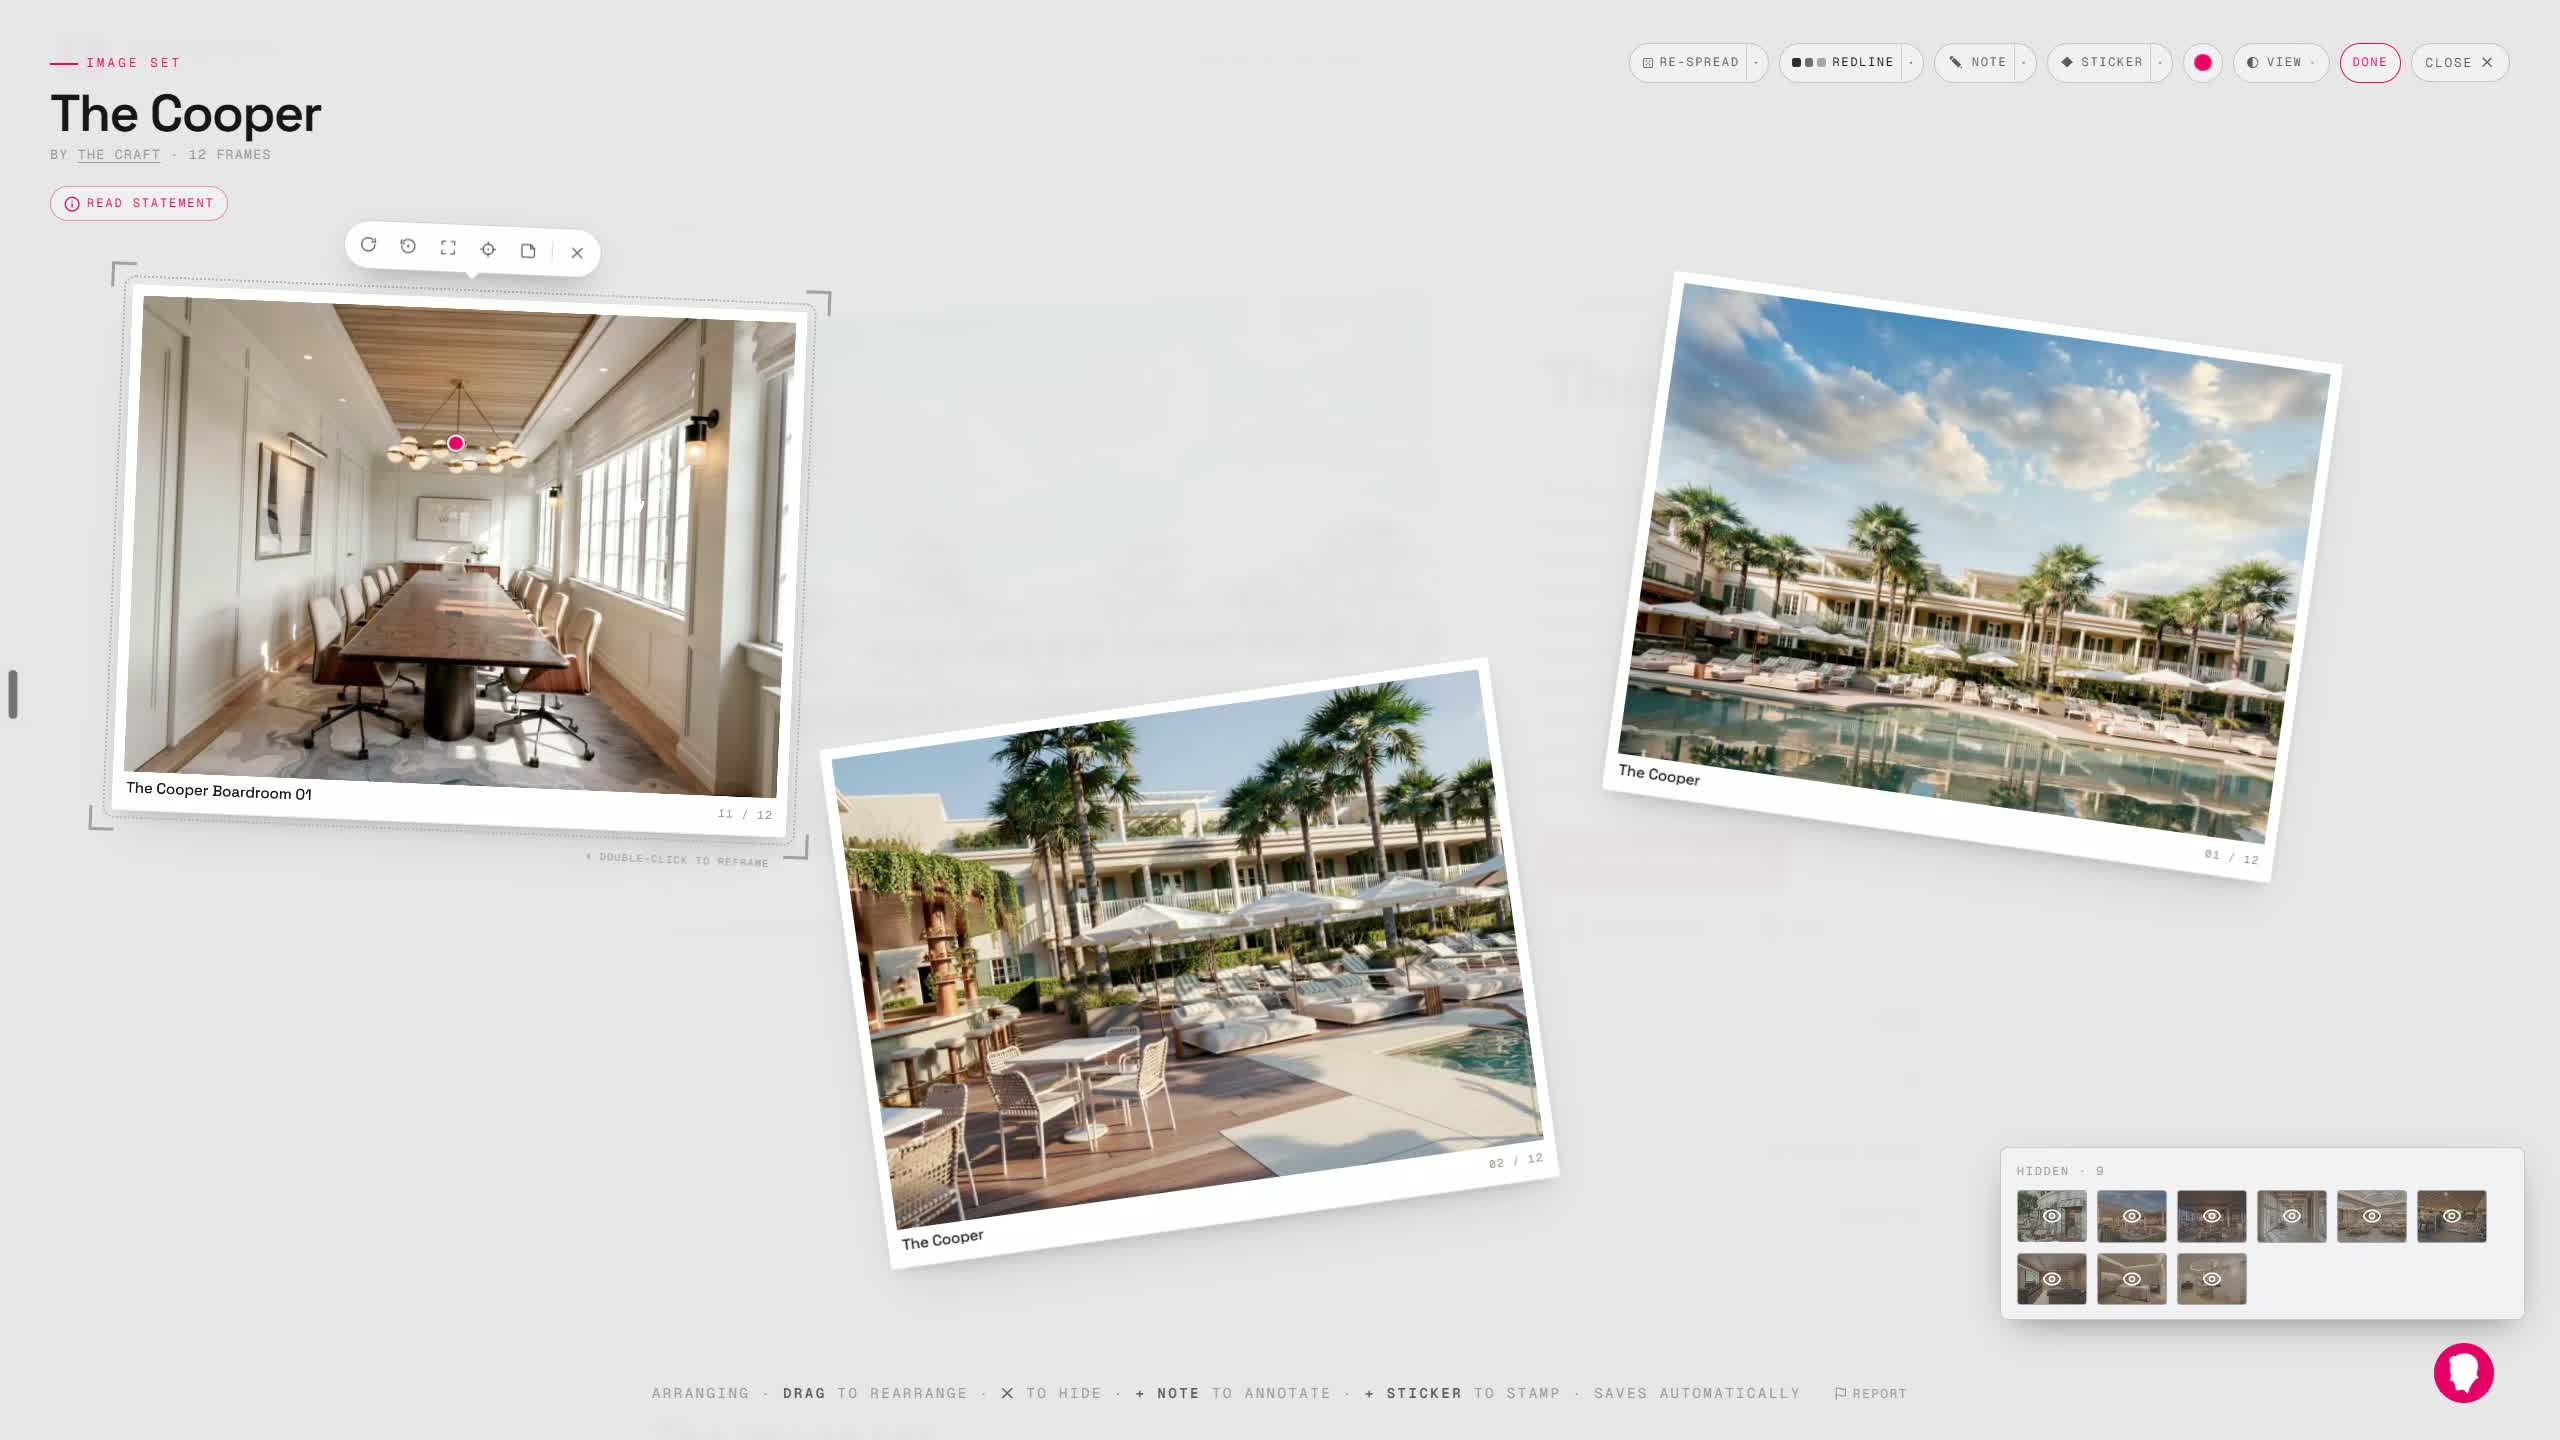
- Most arrangement changes are saved only to local storage.
- If you clear your cache, those temporary edits will disappear.
- Only the changes explicitly mentioned as saved to the record/database will remain.
10. Reframe, zoom, and load high-resolution images
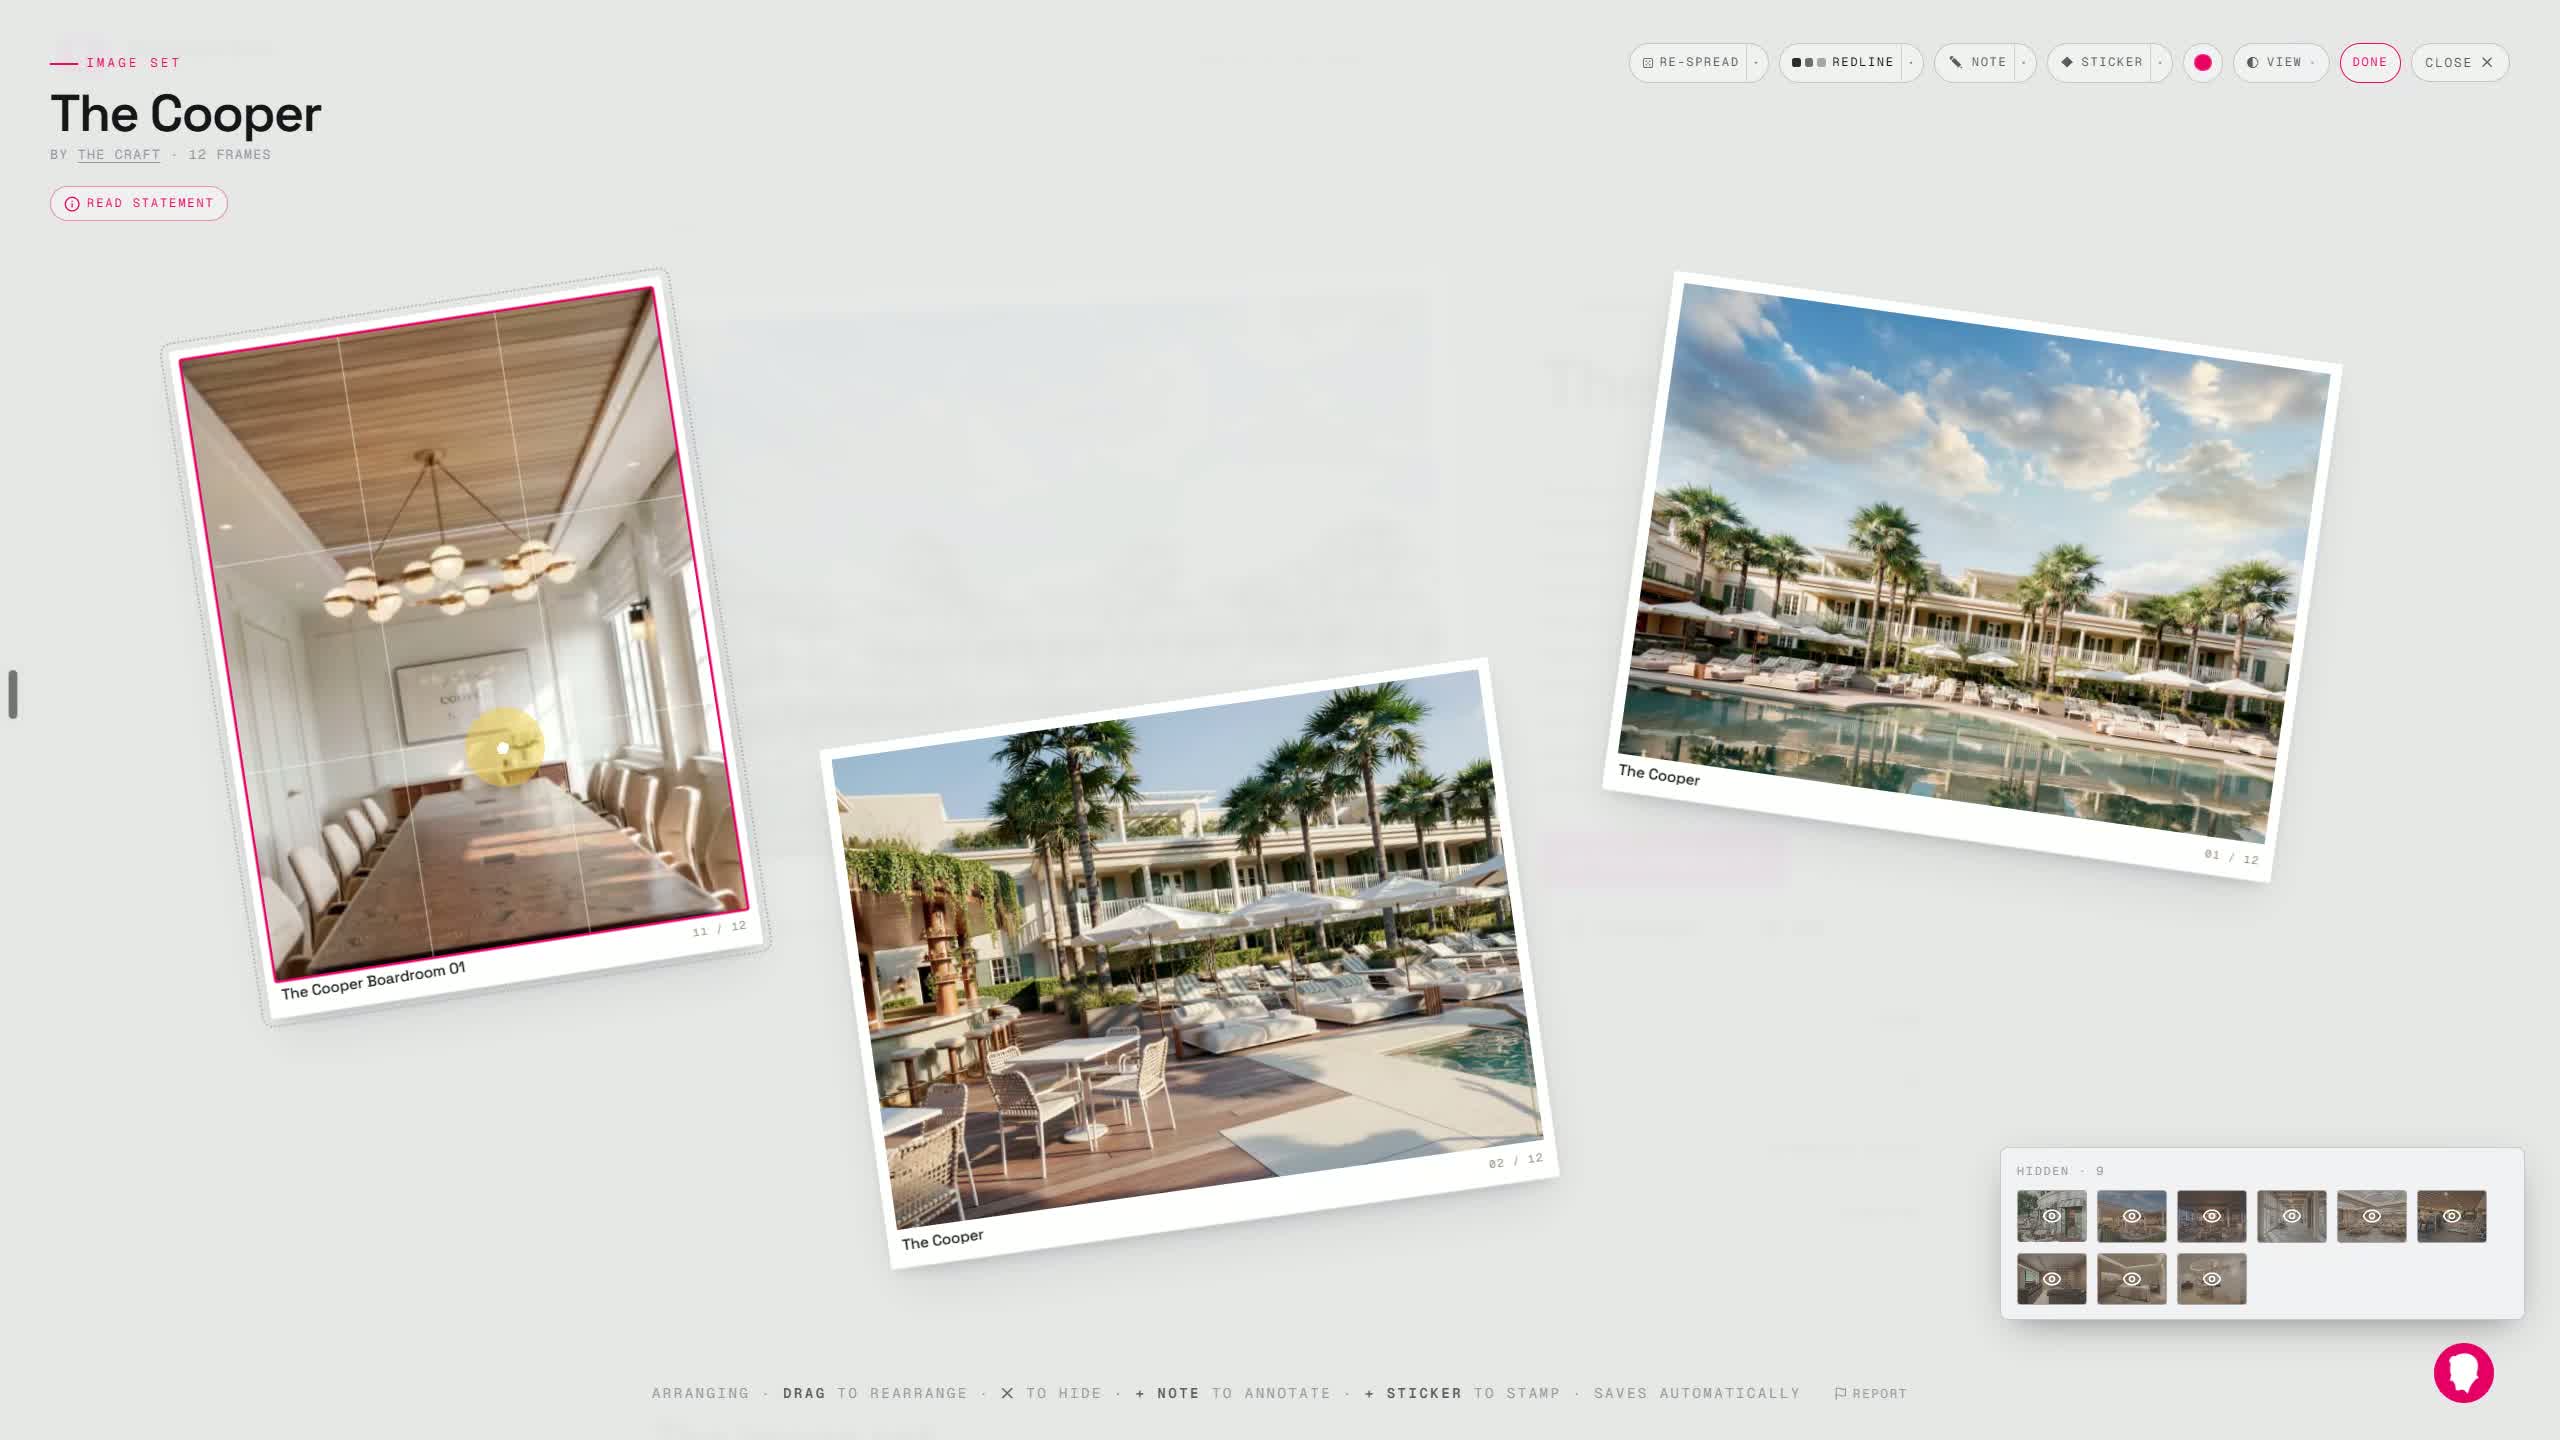
- You can change the proportion of the print.
- You can also reframe the image by zooming in or out.
- After a short delay, the system pulls in the high-resolution version of the image.
11. Navigate through images and add notes
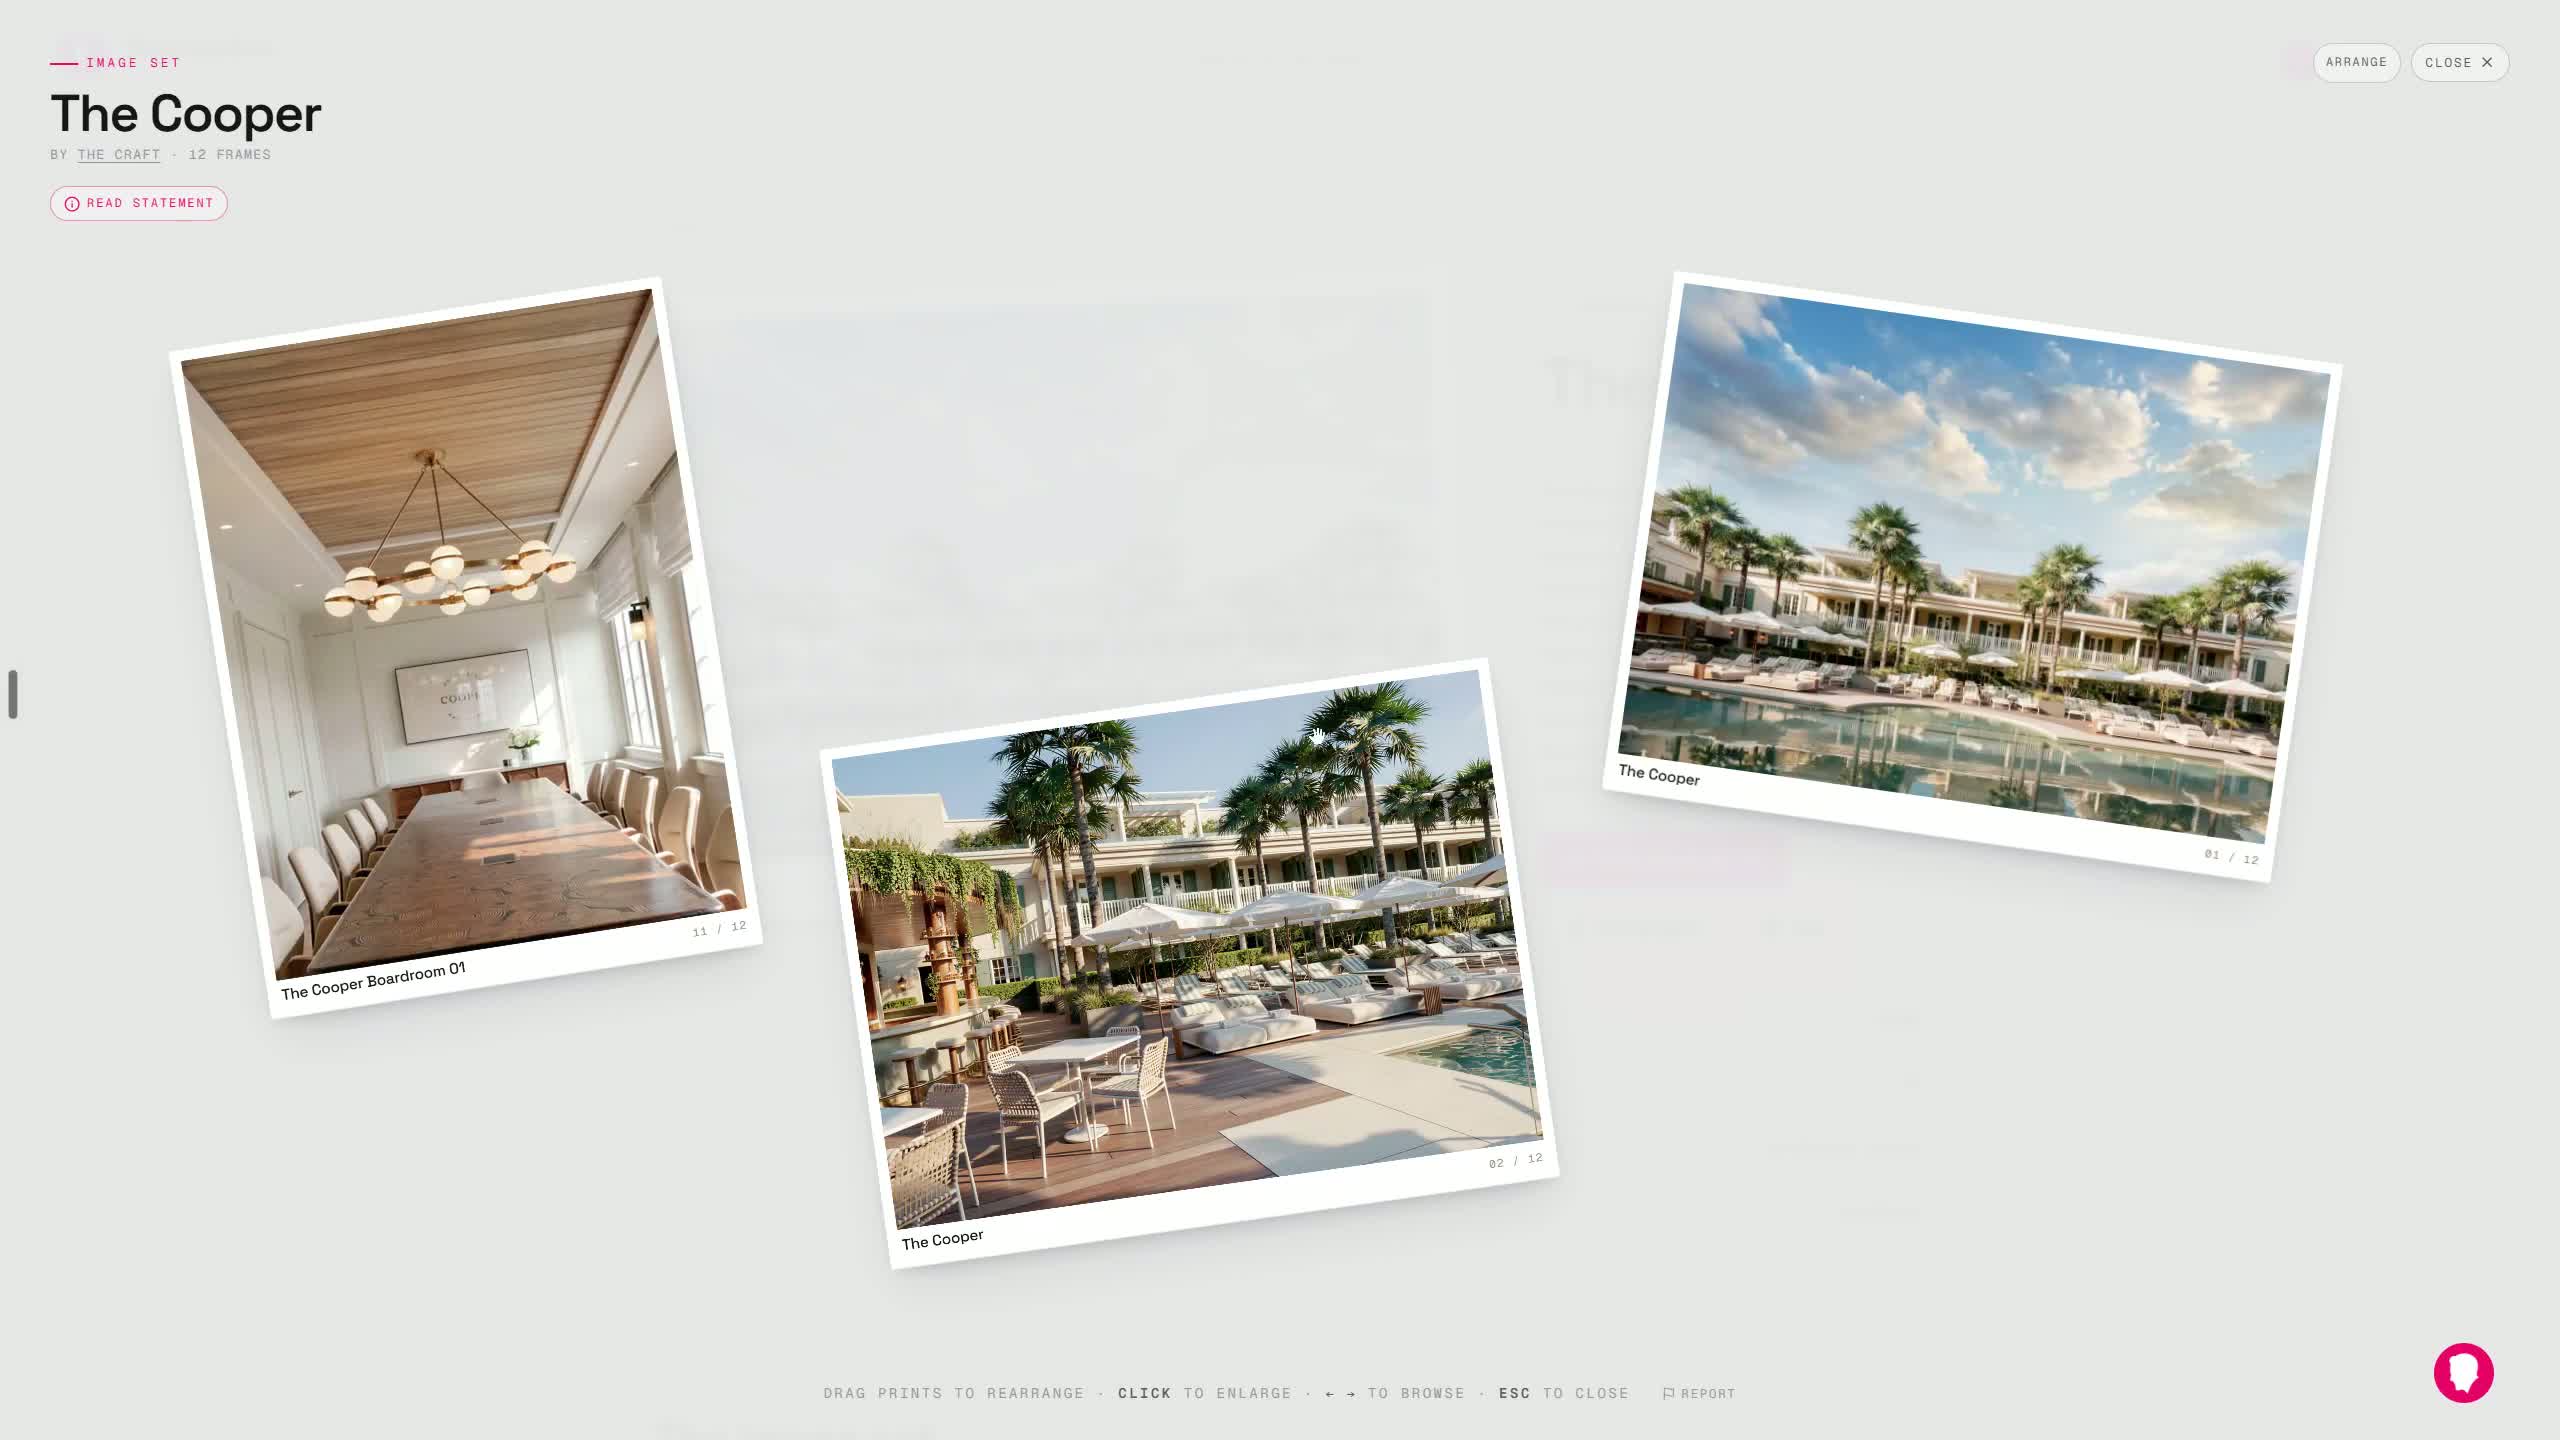
- Once inside an image, you can move through the set using the arrow keys.
- The speaker demonstrates moving through images in order.
- You can add notes directly to images, such as:
- Poolside
- Bar area
- Seating example
- Variation one
- Rethink the carpet, try something a little more interesting
12. Set focal points and reset when needed
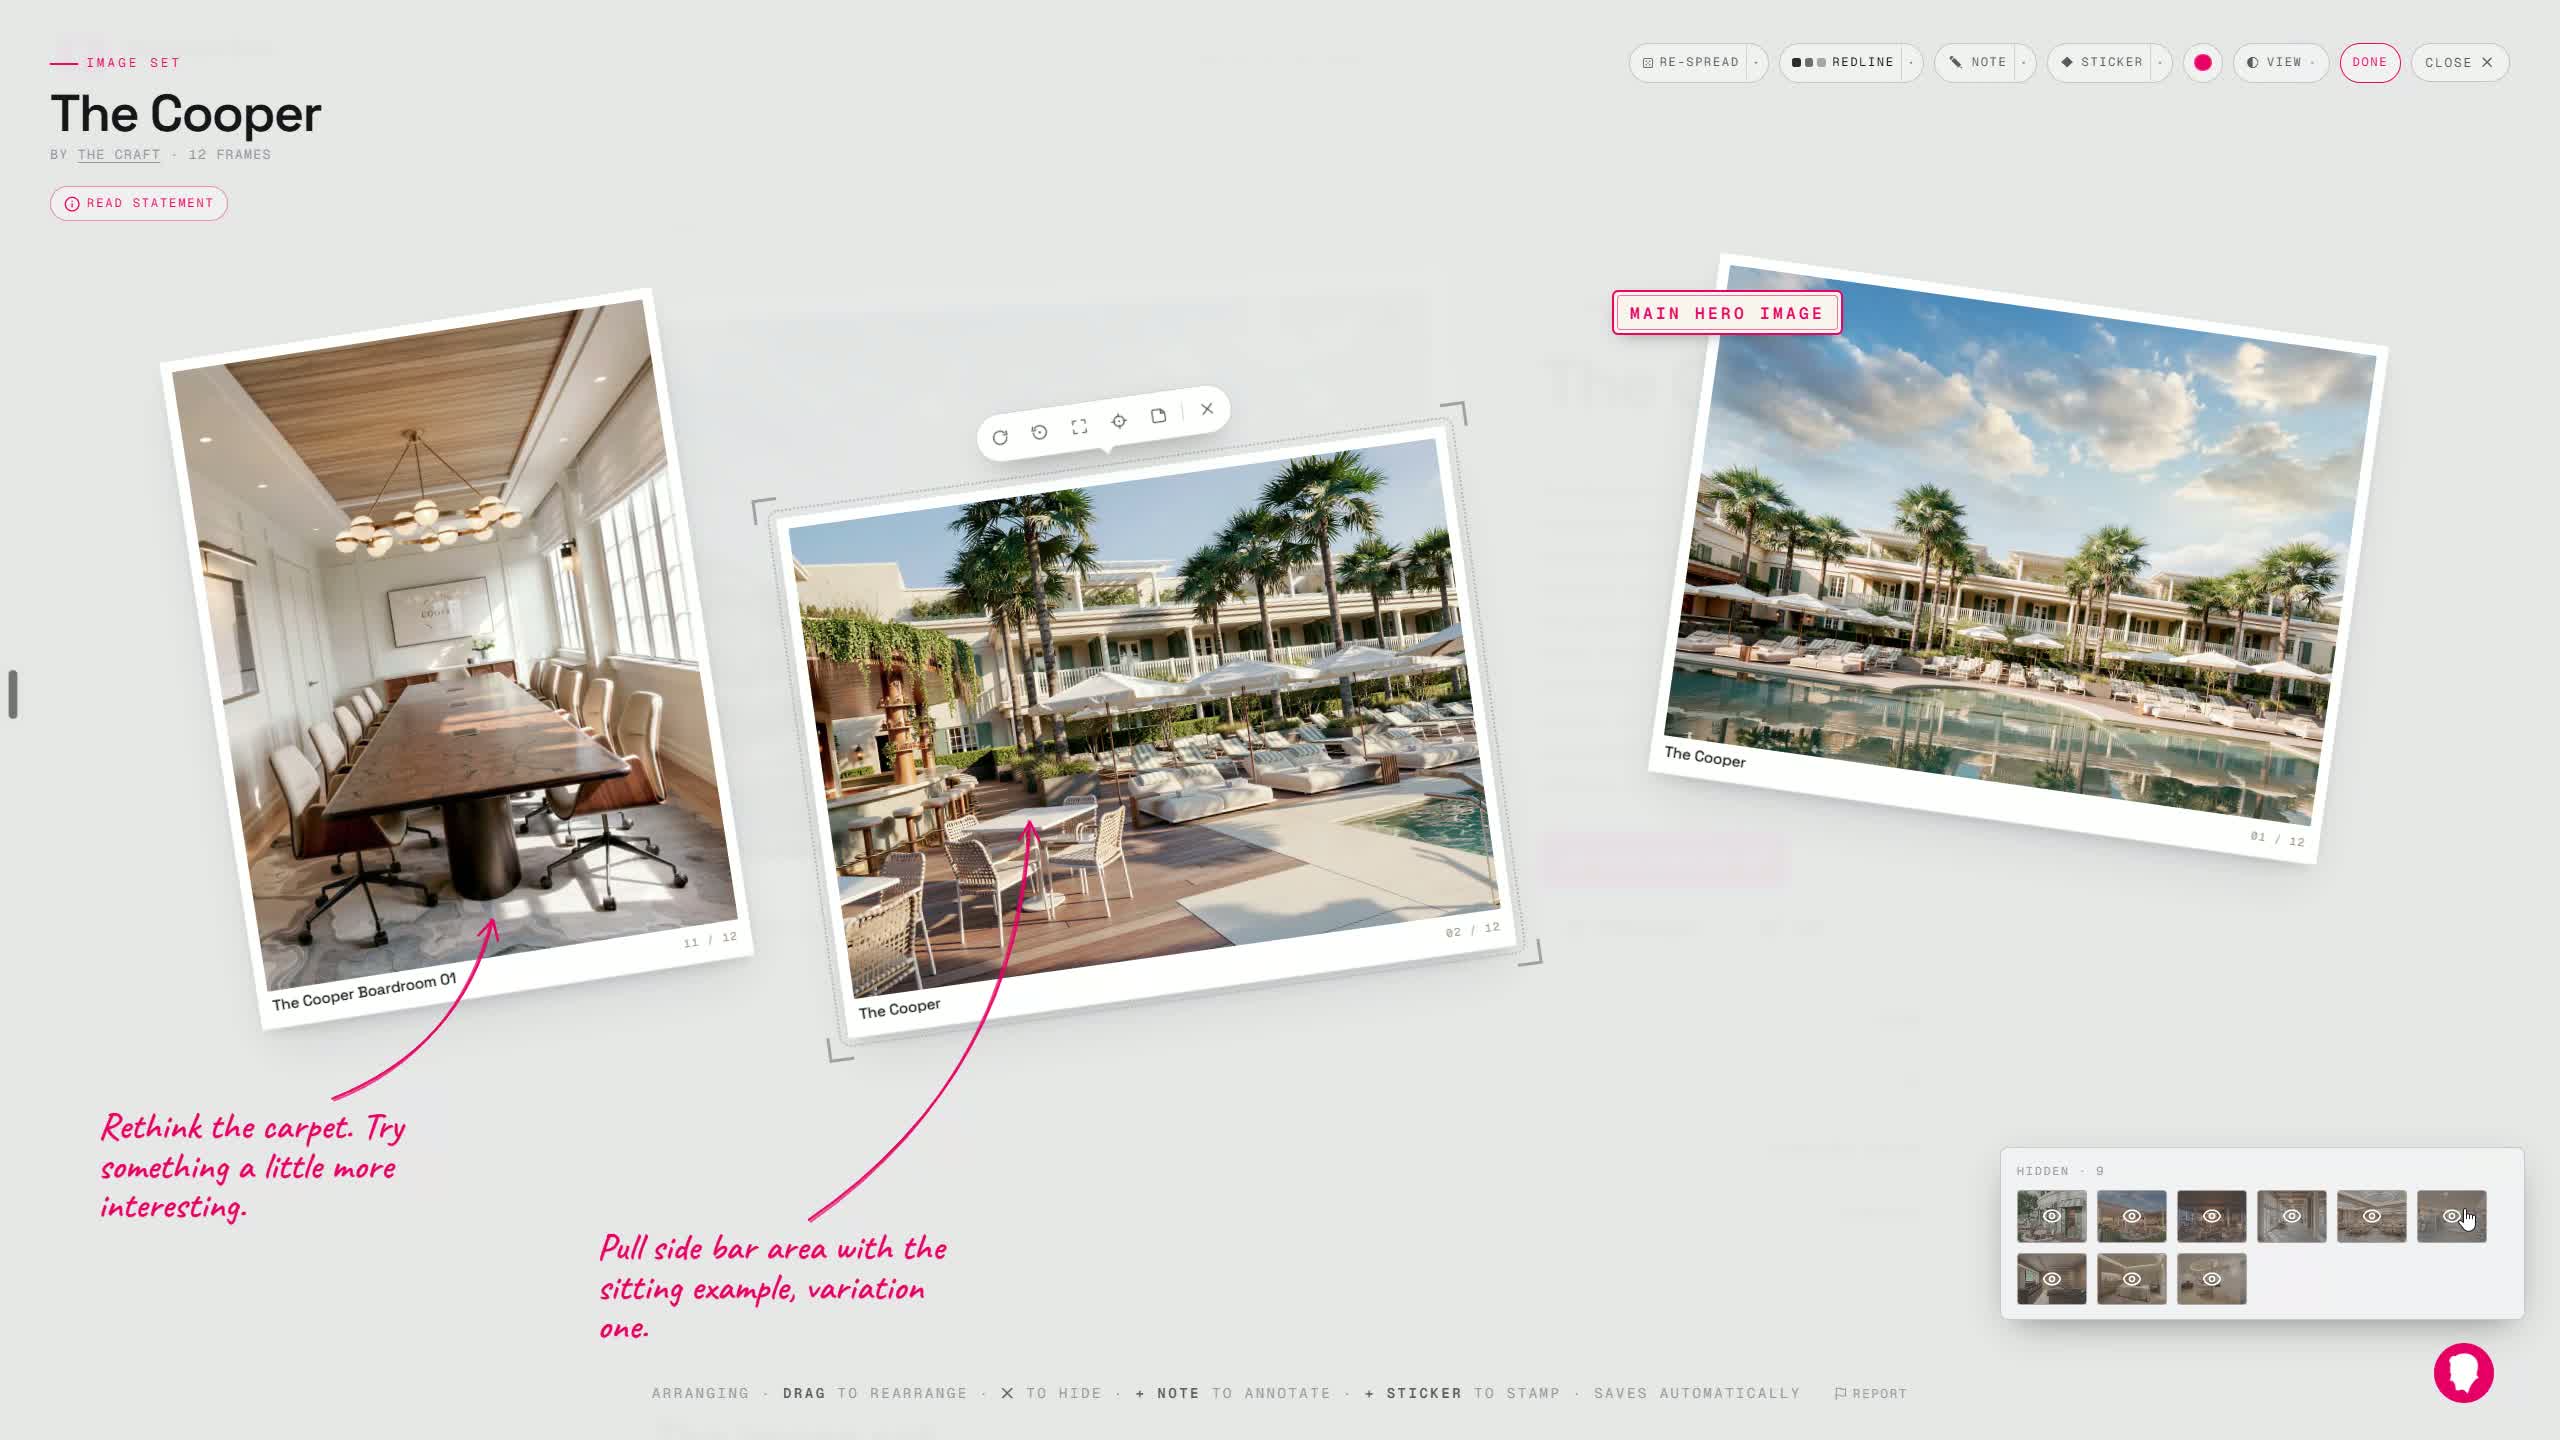
- You can set the focal point so the image tries to stay centered in the frame.
- If something looks off, such as stretching, you can reset and continue editing.
- The workflow is meant to be iterative and adjustable.
13. Edit directly on the pre-record view
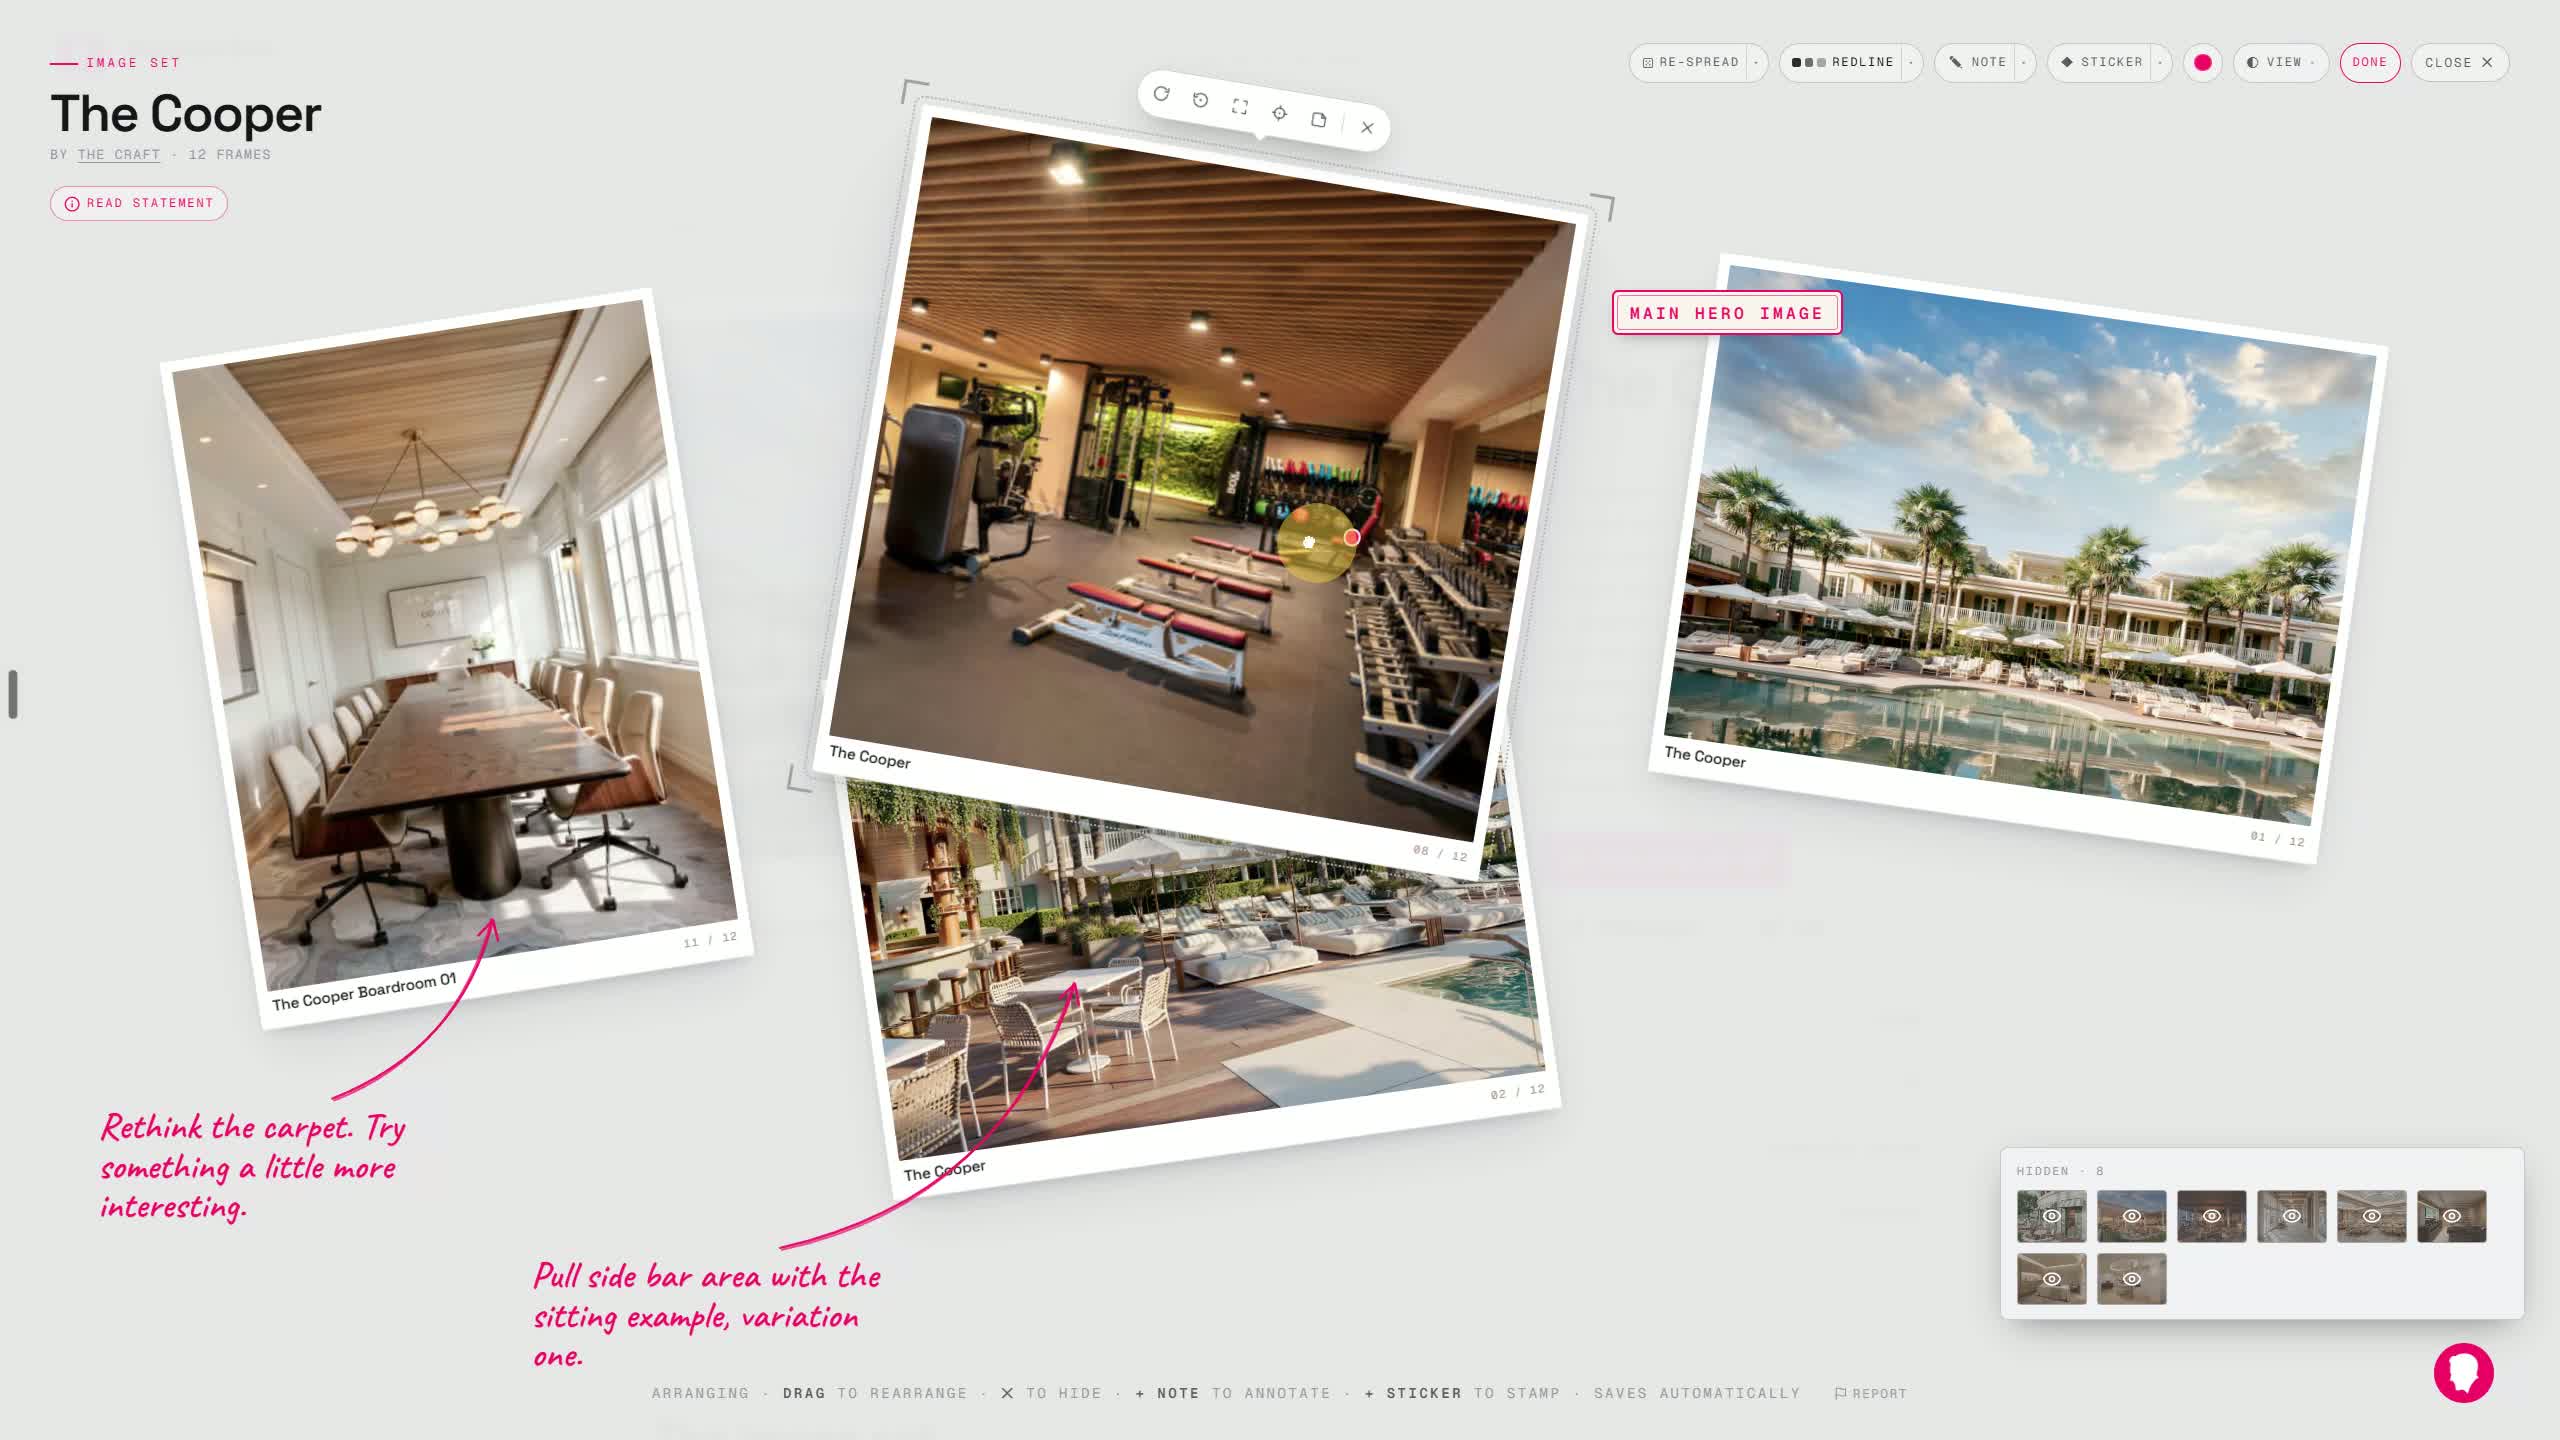
- You can also edit directly from the pre-record view.
- Go back to Print to access it.
- This gives you another place to make layout and annotation changes.
14. Customize labels, arrows, stickers, and markup styles
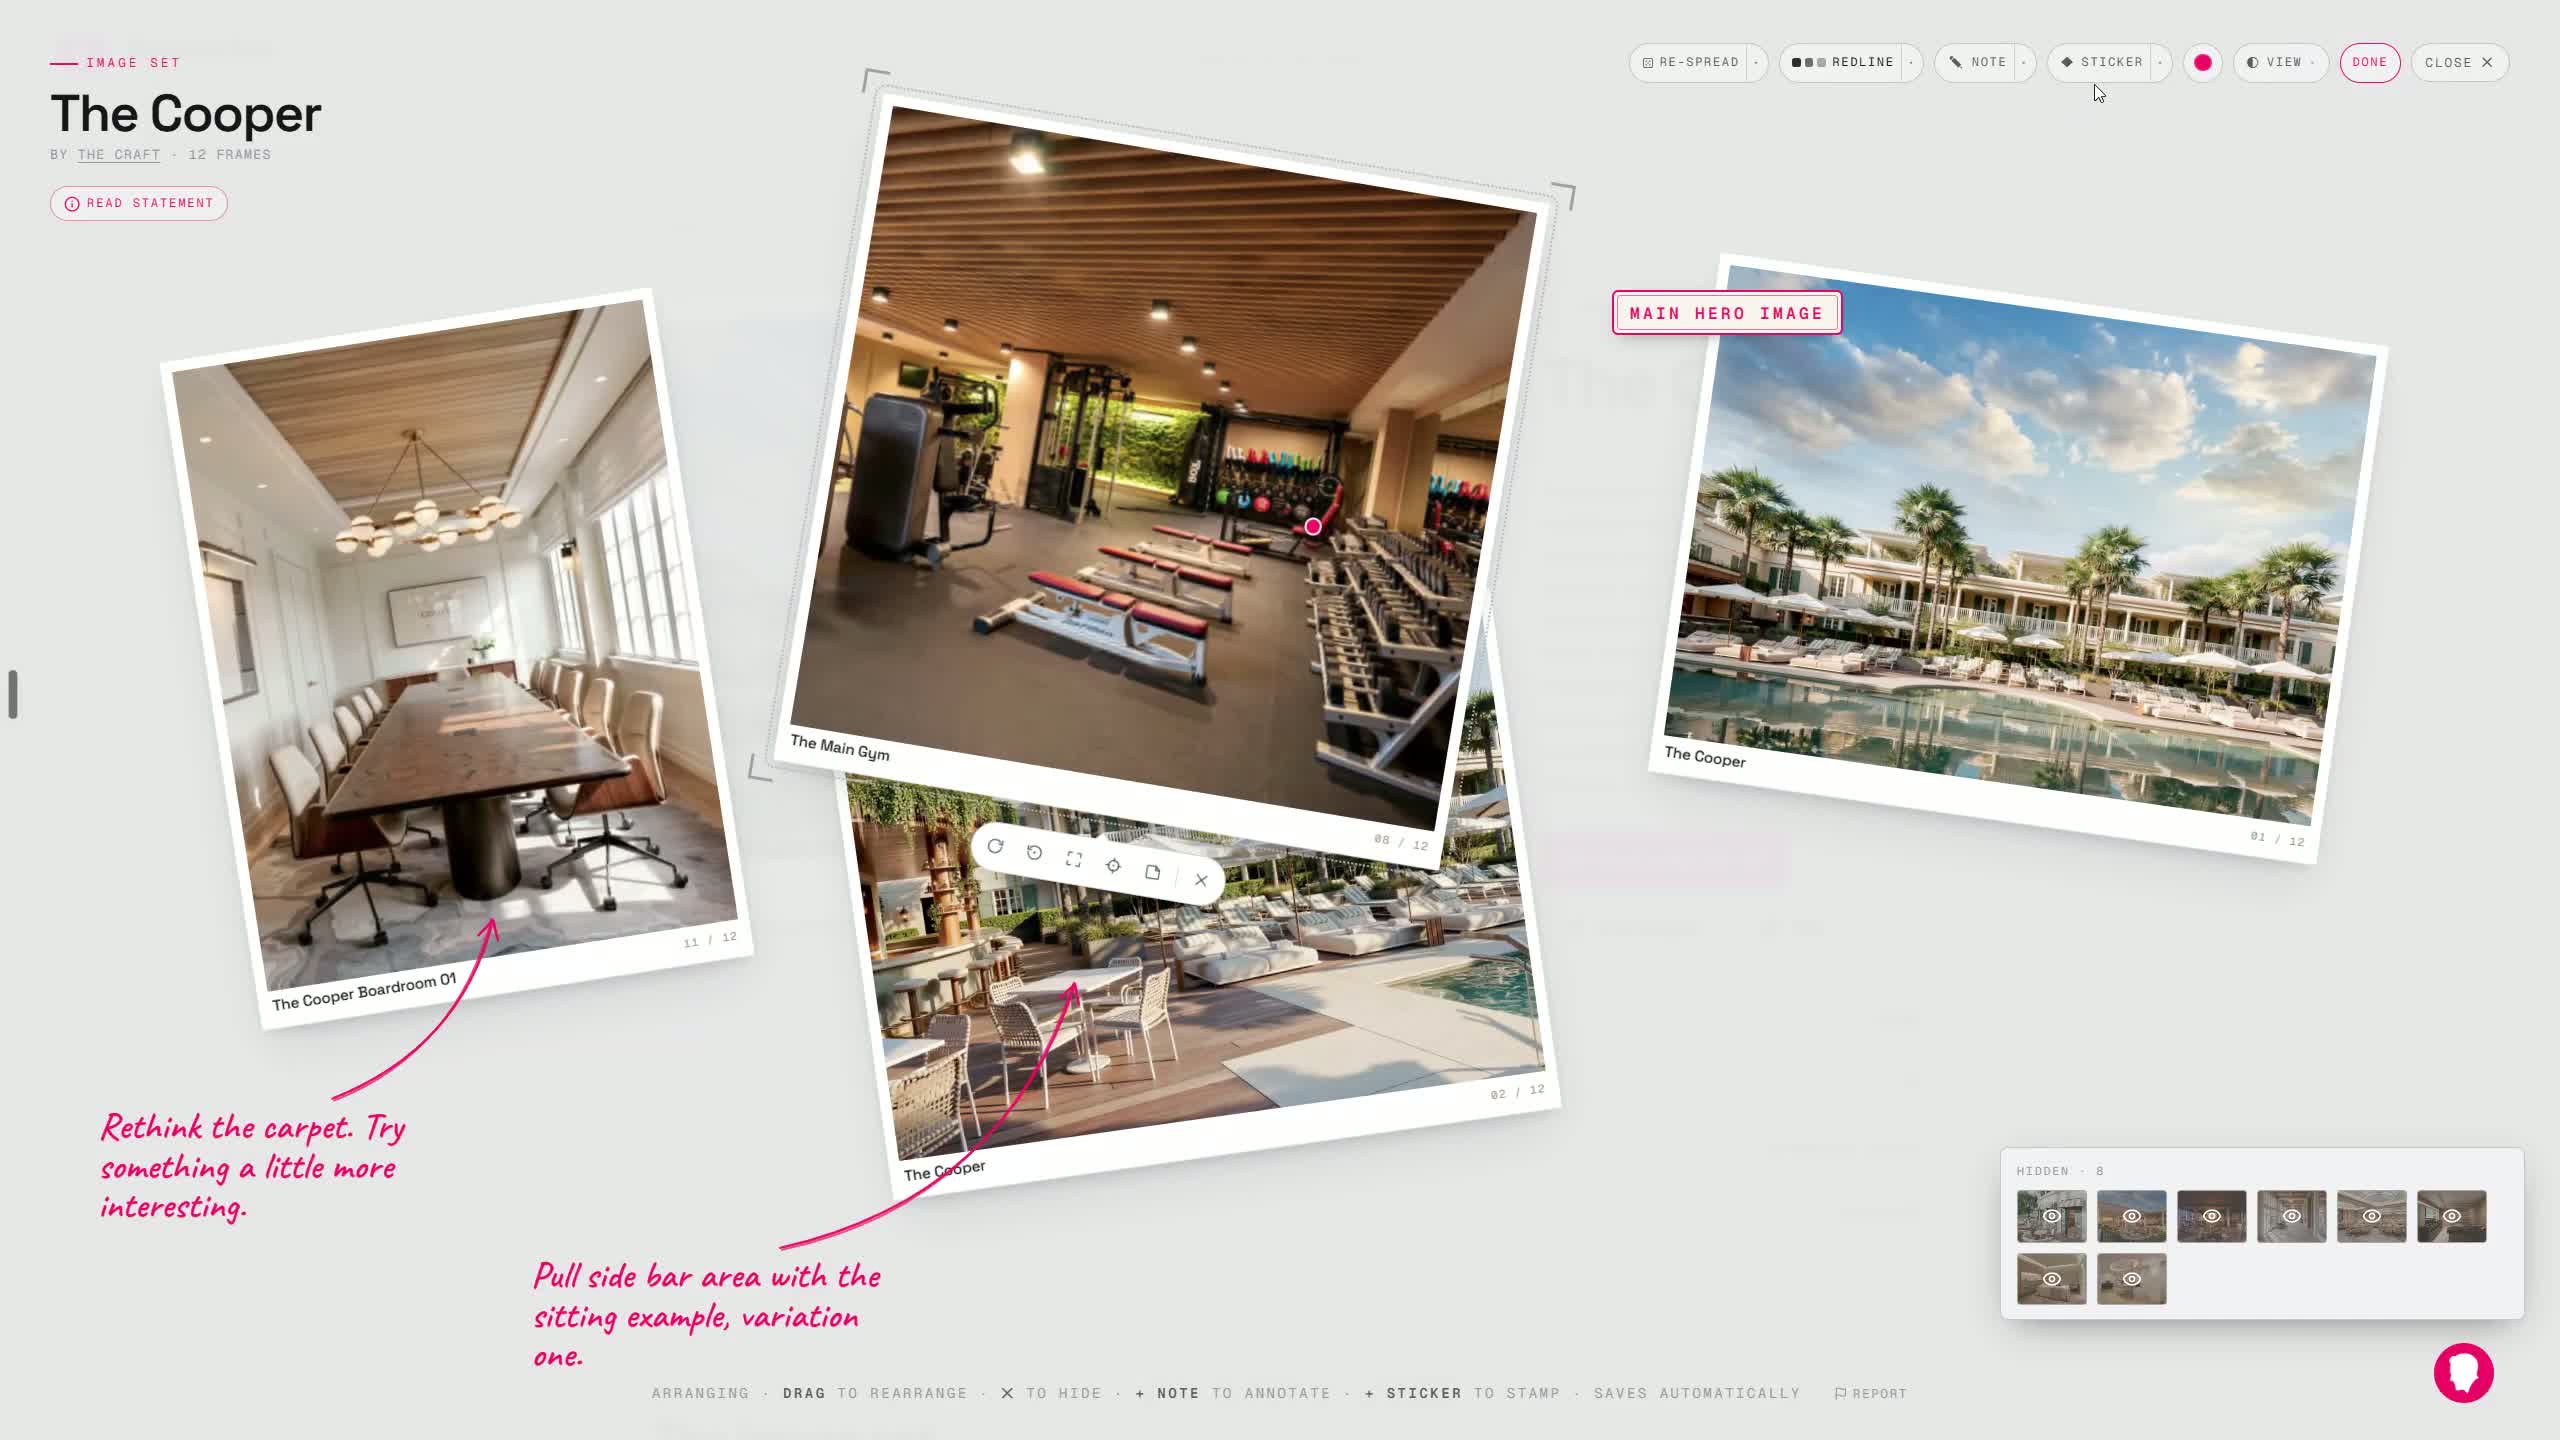
- You can add and style annotations such as:
- Notes
- Sticker examples
- Redlines
- Label styles can be changed individually.
- Arrow styles can also be customized, including options like:
- Redline
- Sticky
- Sketch
- Marker
- The same logic applies to stickers, with options like:
15. Hide markup and UI elements to focus on the images
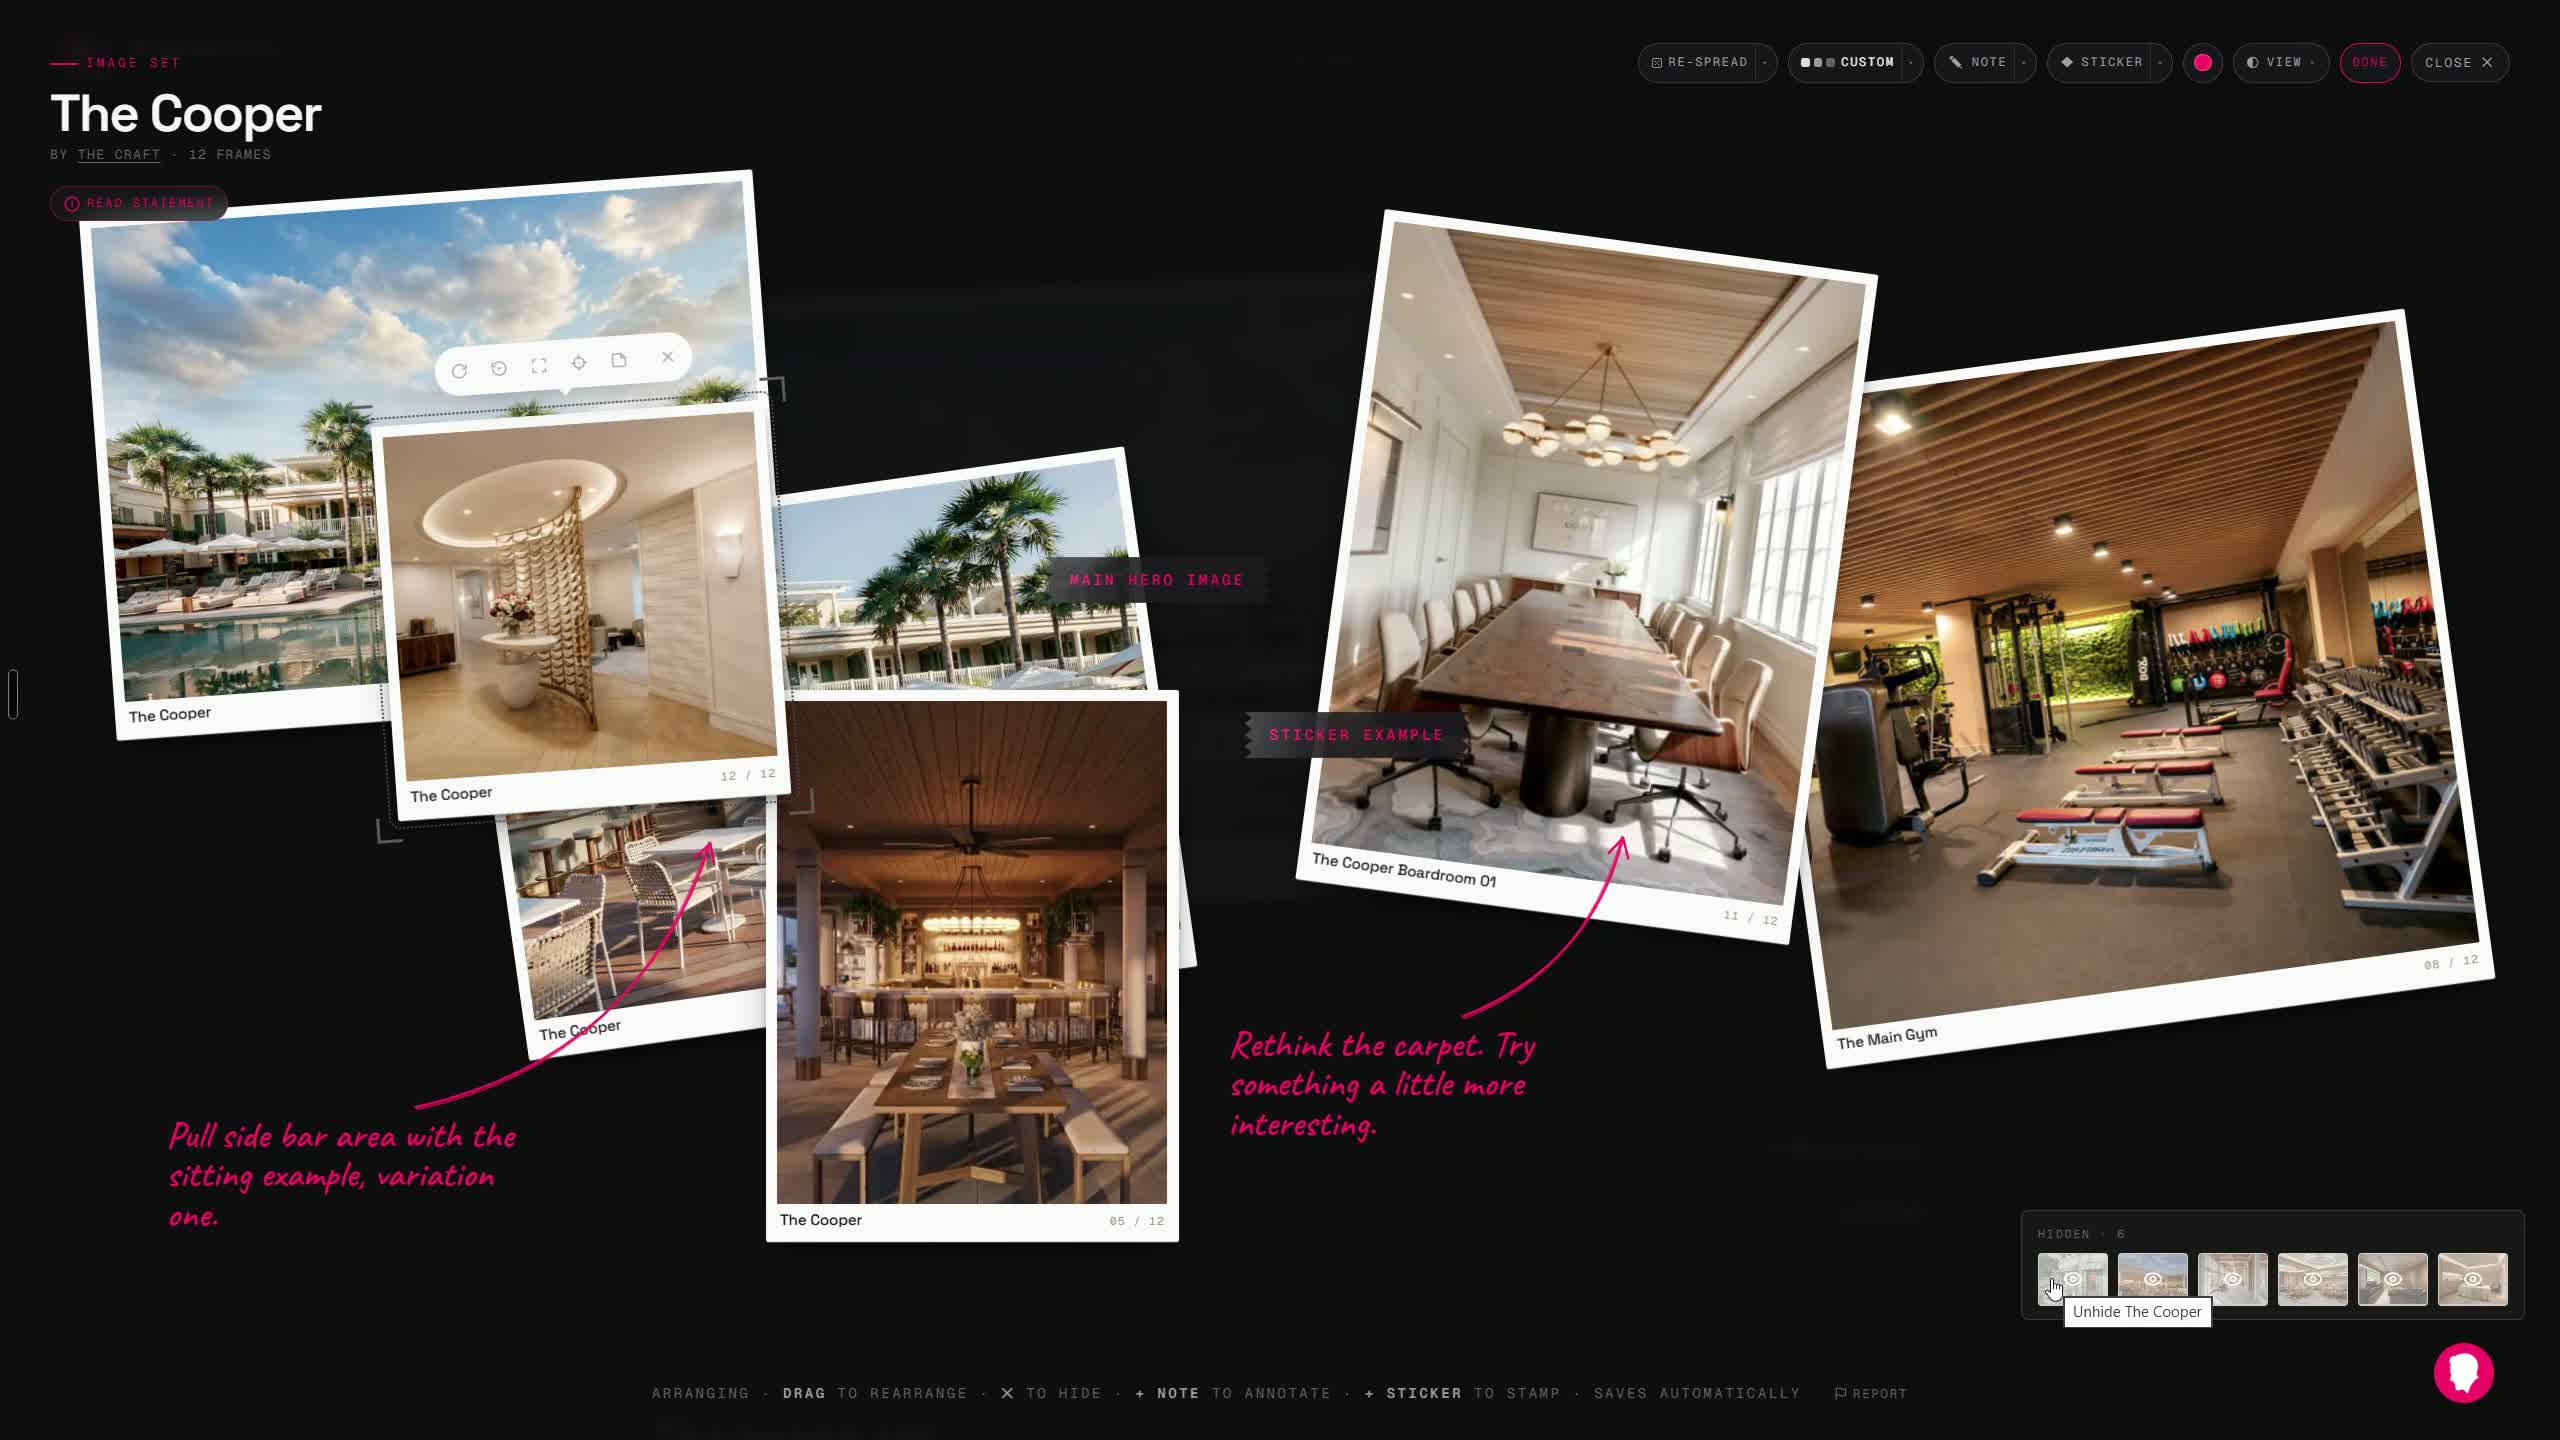
- You can hide markup layers if you want a cleaner view.
- You can also hide the UI entirely.
- This lets you focus on the images themselves.
- The speaker notes that some UI elements may need repositioning if they conflict with other widgets, like chat.
Did this answer your question?